In a previous post, I demonstrated how to deploy VMware vSphere Replication. Click here ‘How to Deploy vSphere Replication 8.3‘
While VMware vSphere Replication is a great product and can replicate your VMs to another location, the recovery / restoring of your VMs is a manual process. You can imagine how tedious this could be if you had 1000s of VMs to recover.
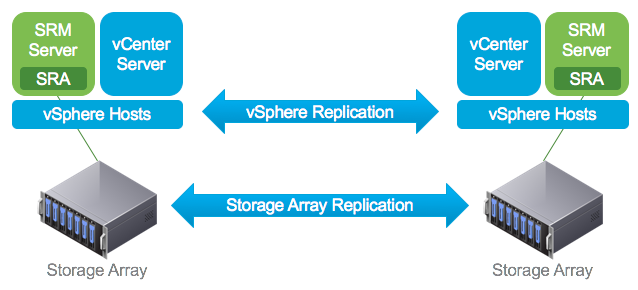
There are several benefits of using Site Recovery Manager (SRM) along with vSphere Replication.
A major benefit that interests me is automating / orchestrating planned and unplaned Site Failures with ‘Green Button’ tests.
Another feature is the use of the NetApp Storage Array Adapter plugin, which allows you to Replication at the Storage layer.
Unlike VMware vSphere Replication that requires no additional licensing as long as you have vSphere Enterprise Plus. VMware Site Recovery Manager is a licensed product. If you have an Active Advanced VMUG Membership, you can obtain a license from there.
As I have stated before, I have the Advanced VMUG Membership and have access to VMware licensing for my ‘Home Lab’ I highly recommend you do the same
vSphere Replication license is included in vSphere Enterprise Plus, while SRM is an independent product and is a per VM or per CPU (as part of vCloud Suite Enterprise) vSphere Replication uses network-based Replication; SRM uses storage array-based replication
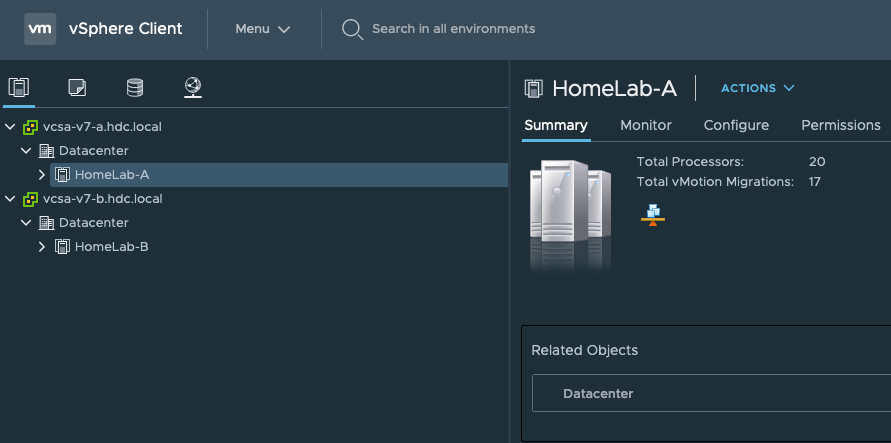
I will be configuring 2 separate sites connected through Embedded Link mode for Production (HomeLab-A) and Disaster (HomeLab-B).
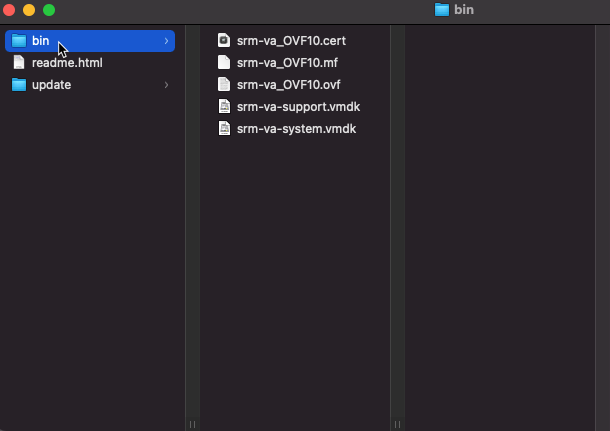
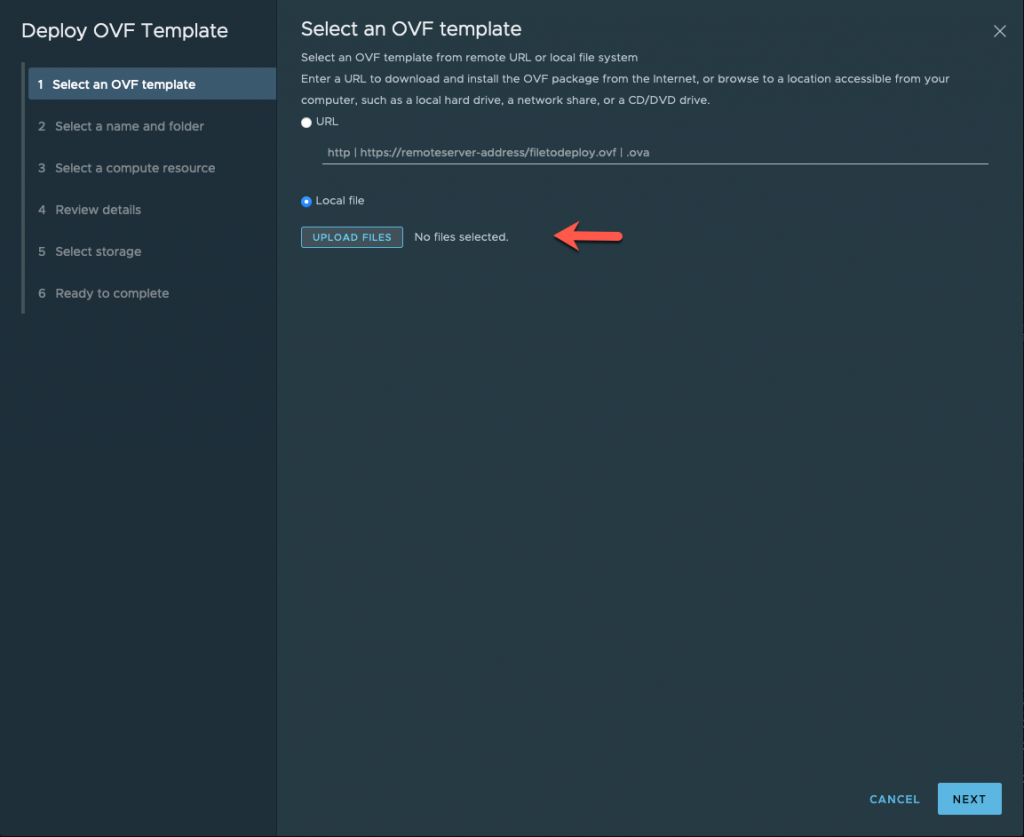
First, you will need to download the ISO file containing the replication appliance OVA. The file is located at my.vmware.com under All Products –> VMware vSphere.
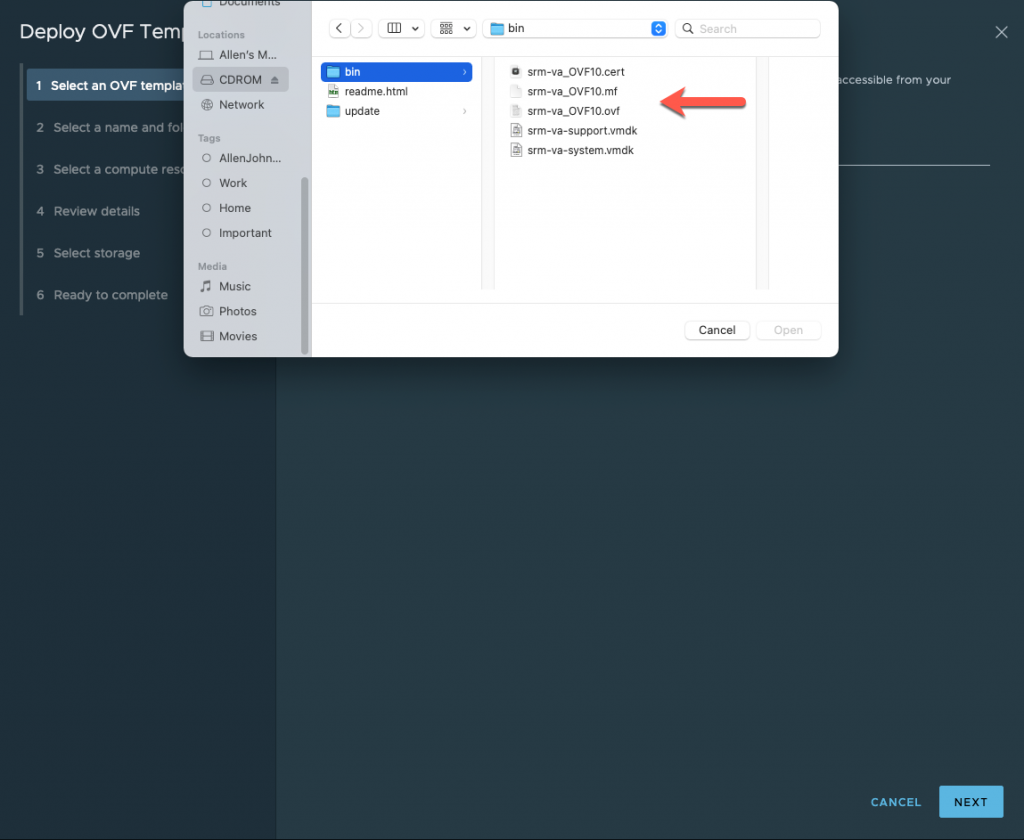
After downloading the ISO, mount it from a computer that is on the same network as your vCenter. When browsing the mount location, you will see several OVF templates located inside the folder “bin”.
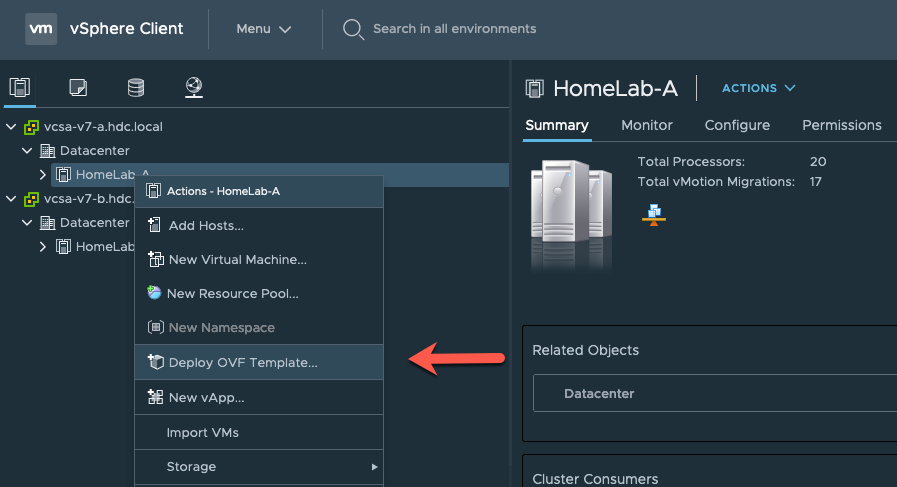
Next, Log into the Production vCenter ‘HomeLab-A’ site and right-click on the Cluster ‘HomeLab-A, and click on deploy an OVF.
Click on Upload Files and select the following files from the mounted ISO
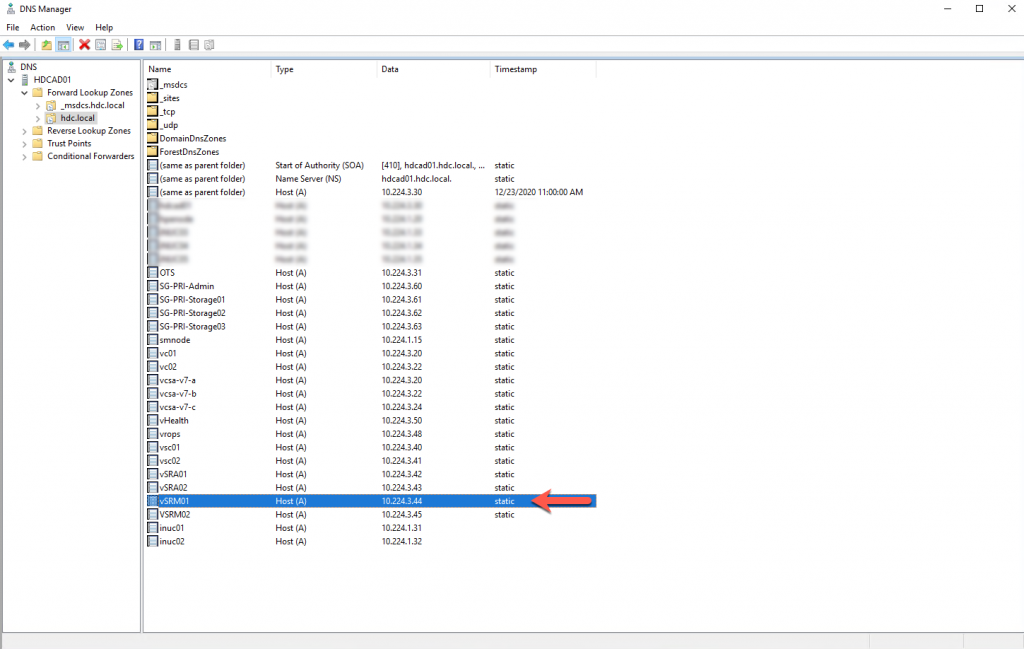
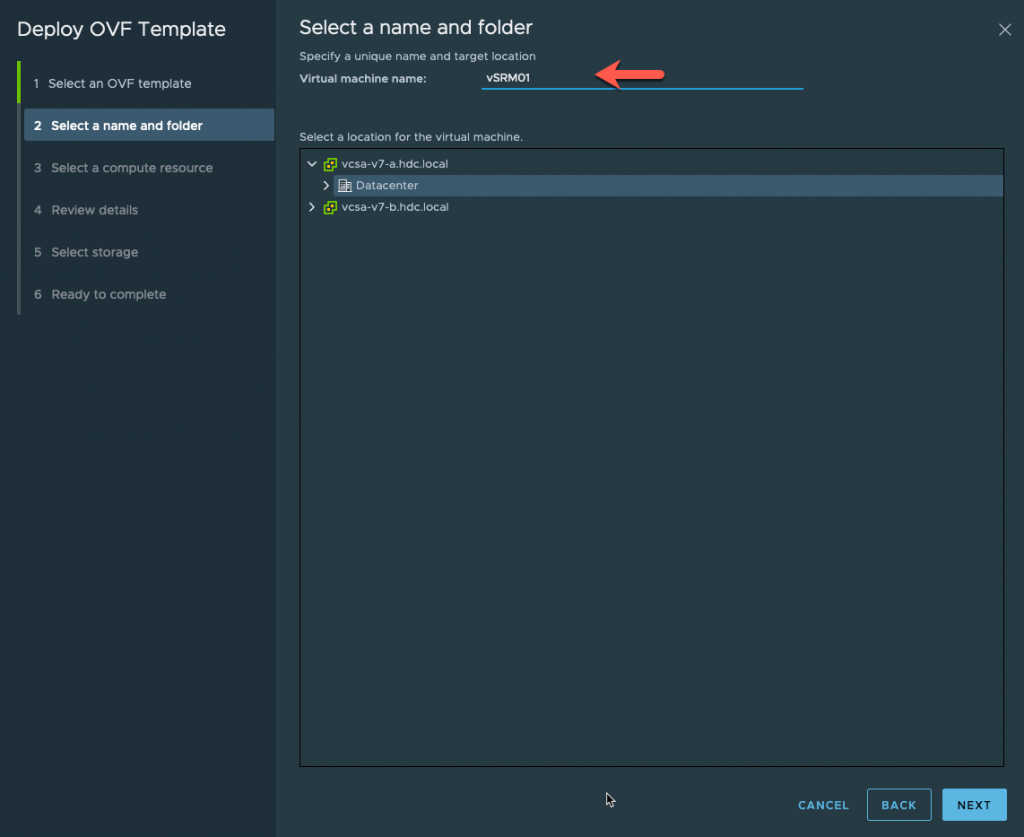
Provide a name for your VM, I am using the FQDN name that is already registered on the DNS Server. Make sure to select the Production SiteA vCenter.
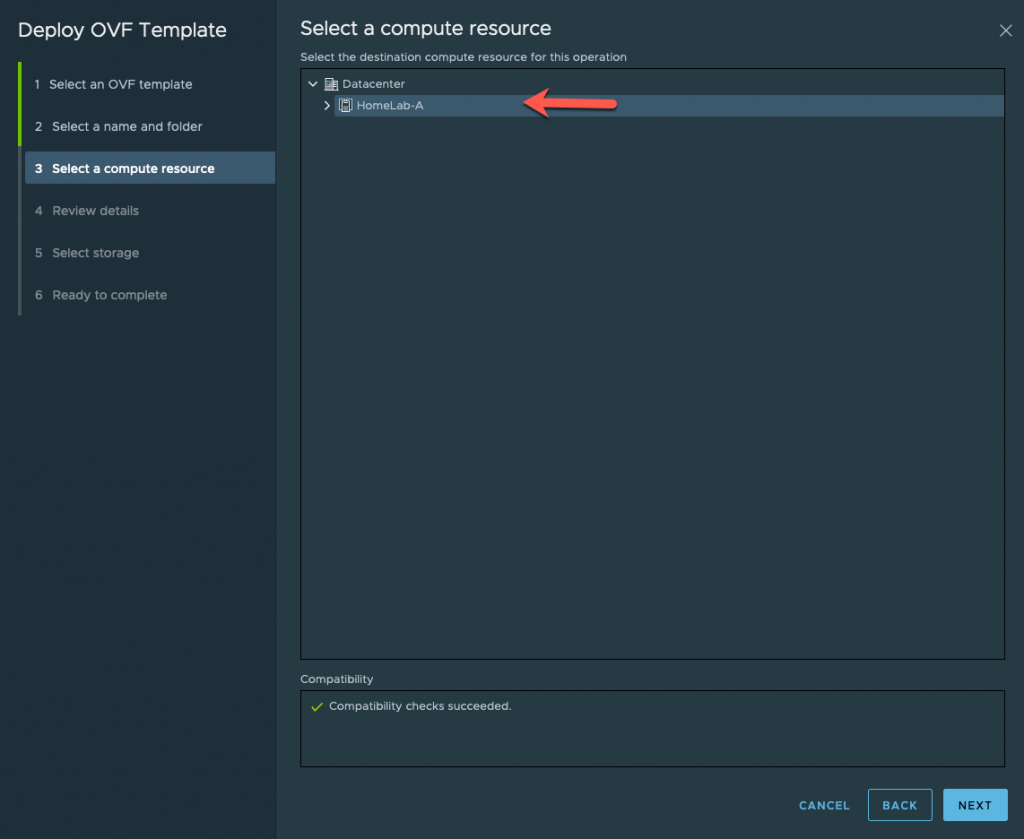
Select a Compute Resource
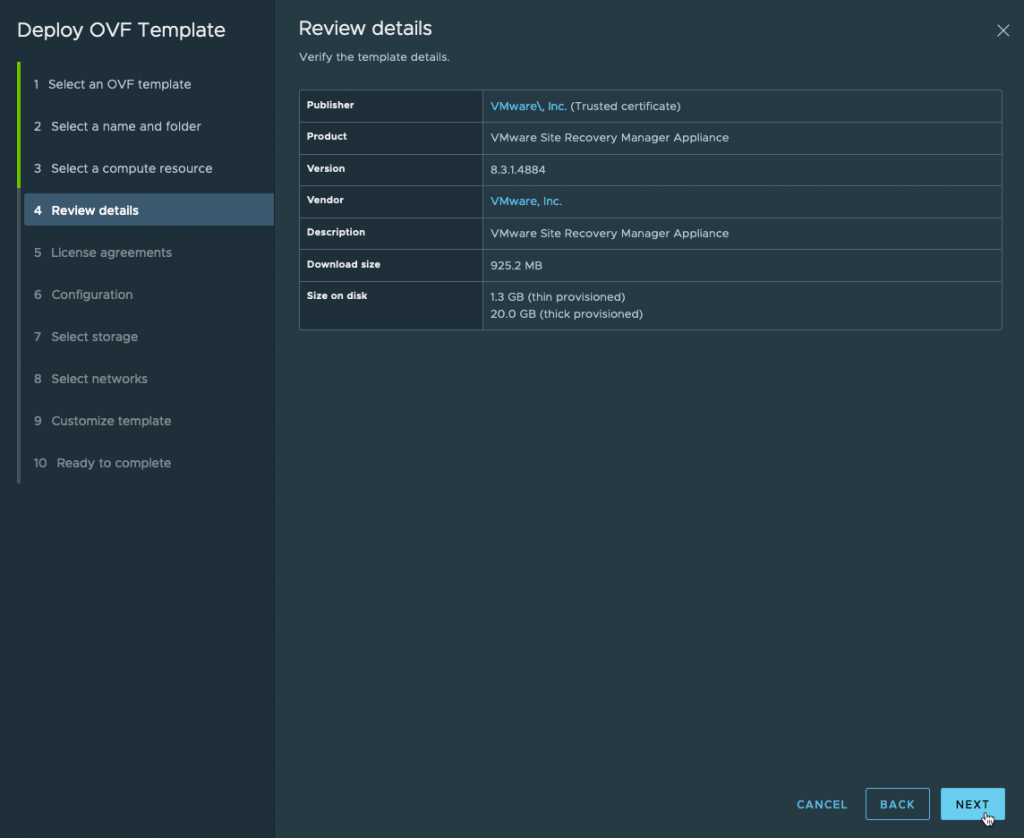
Review Details
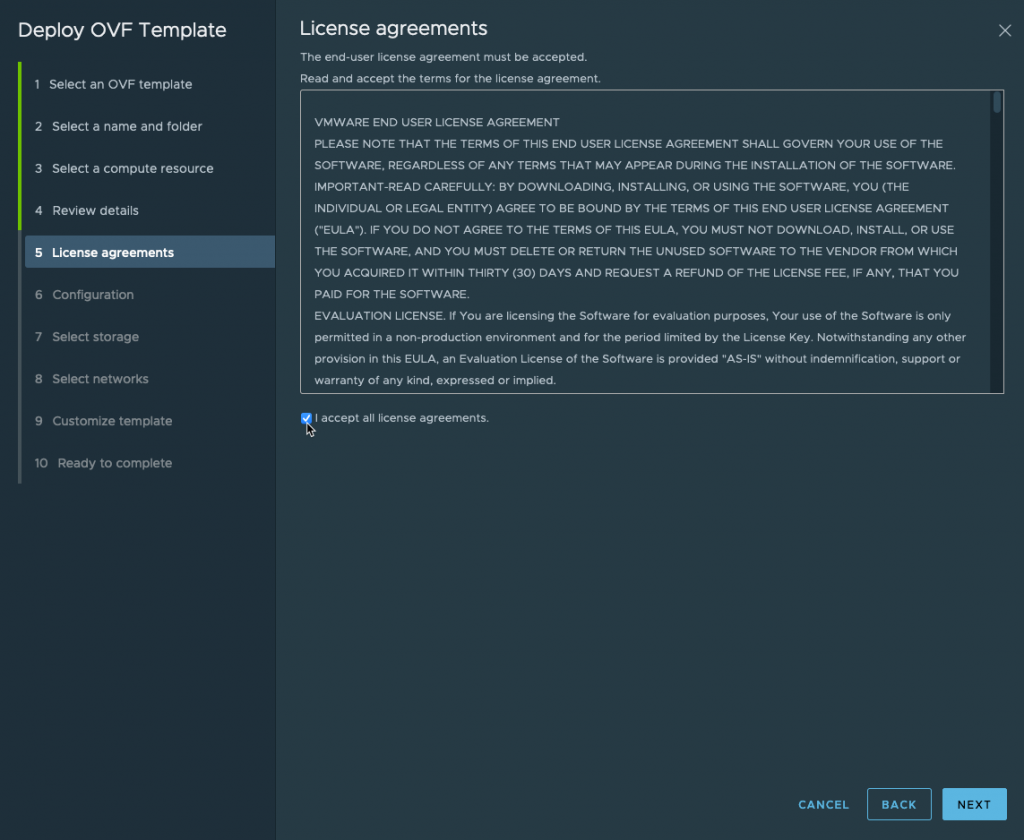
Read and Accept EULA
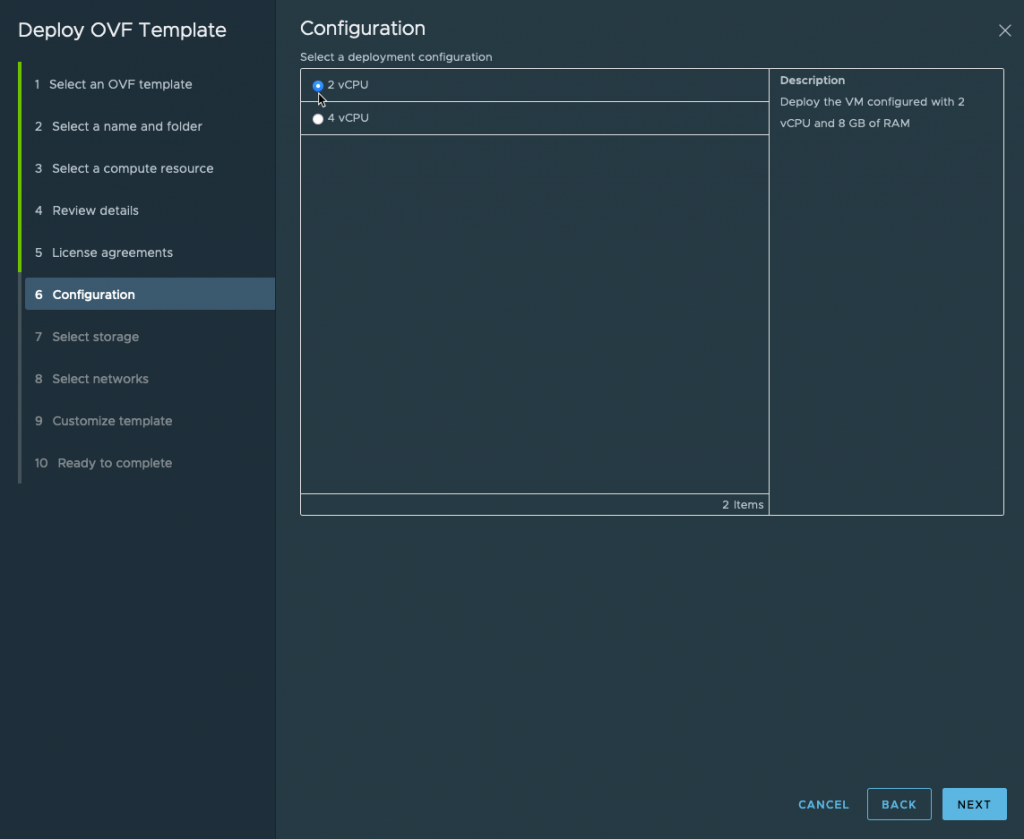
For my Lab Deployment, I am only selecting 2 vCPU
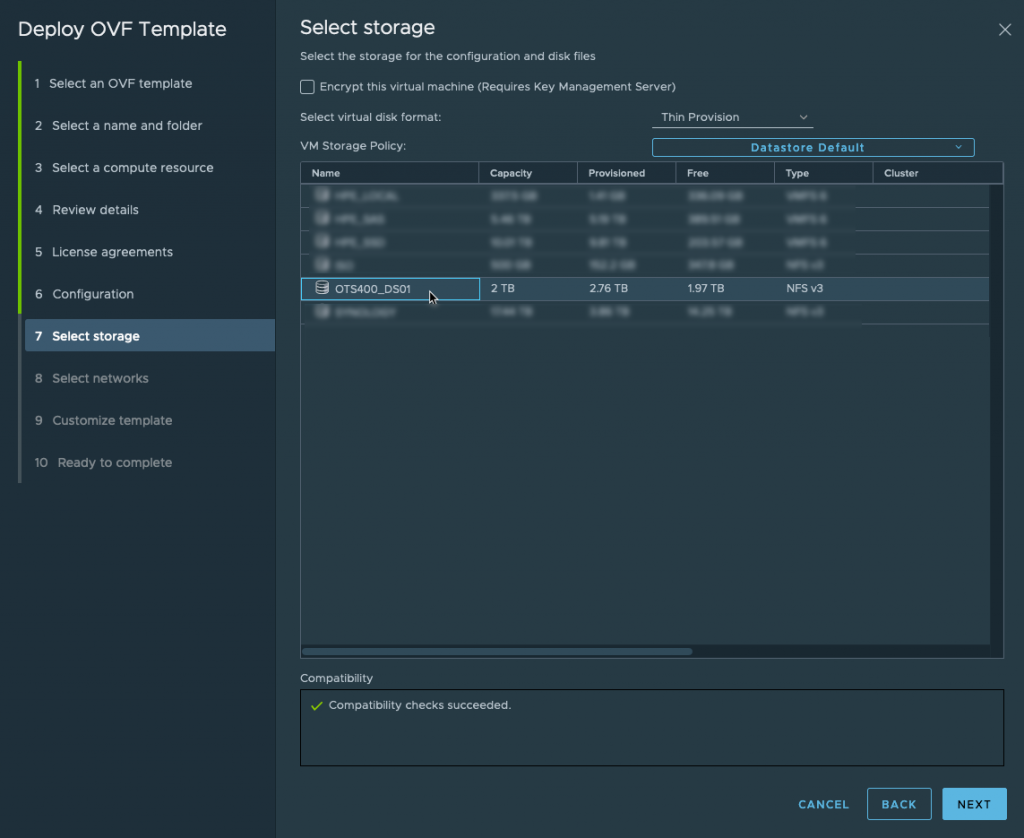
Select the DataStore
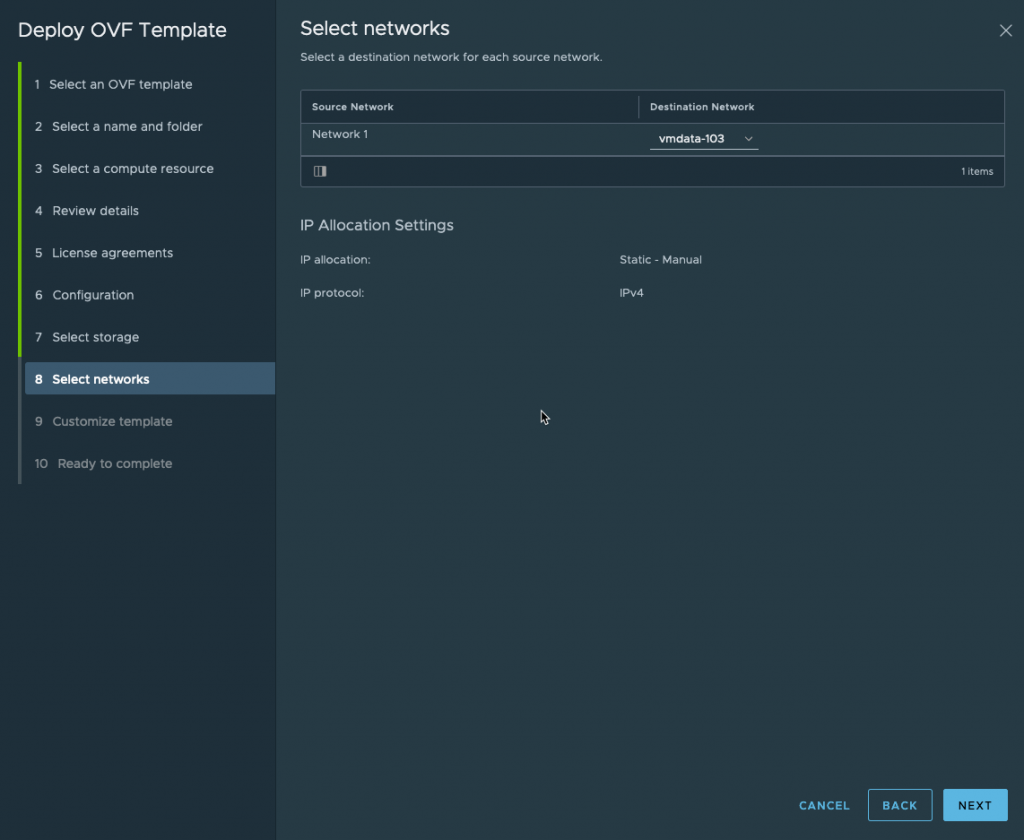
Select the Management Network
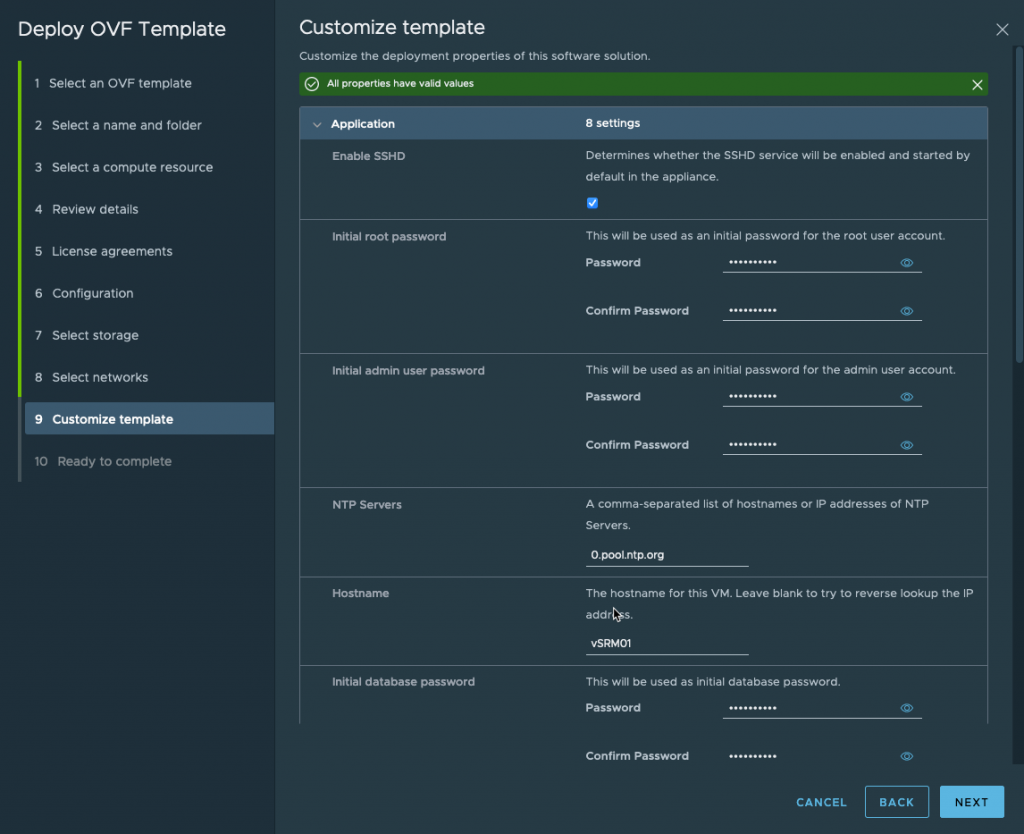
Fill out the Customized Template, make sure that you use FQDN and resolvable NTP servers.

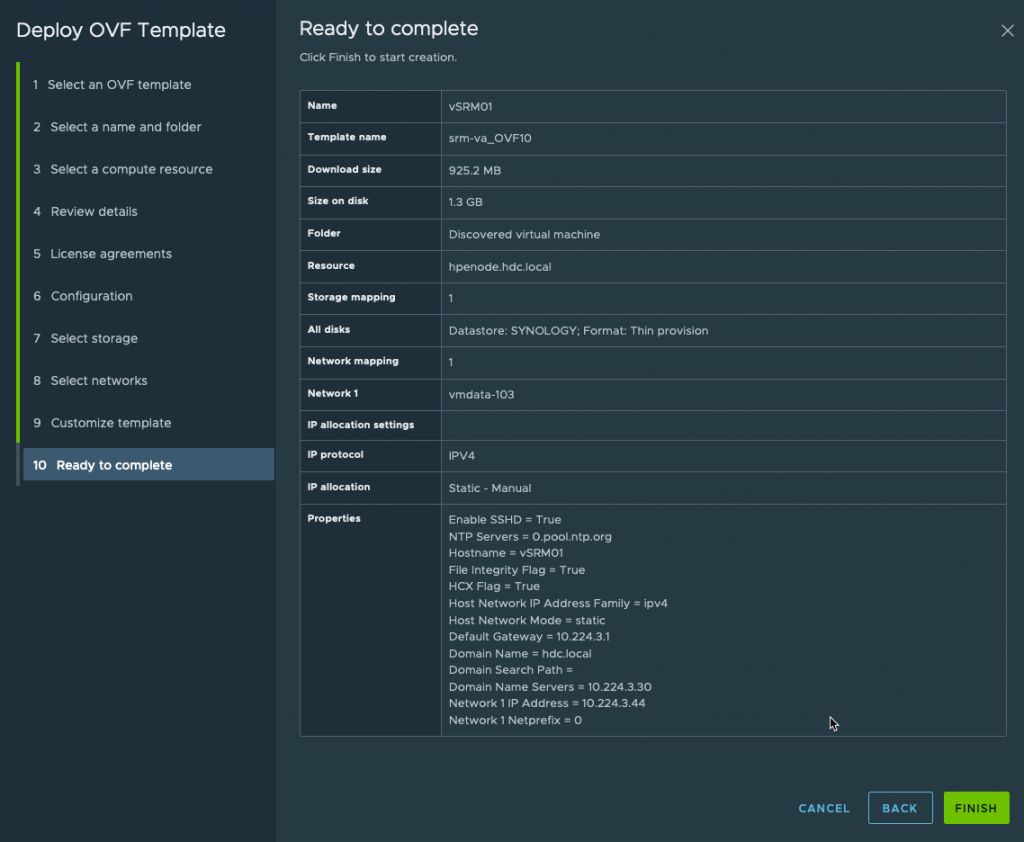
Review setting and modify if needed, else click Finish
Depending on the hardware in your environment, the deployment may take some time. You can repeat the same process on the Disaster Recovery Site-B.
In my next post, I will demonstrate how to configure the SRM Appliance.