
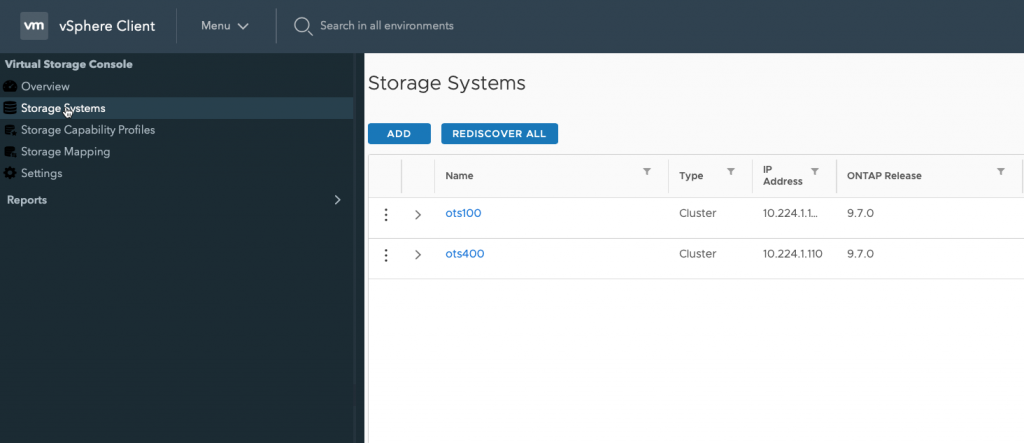
If you have been following along with me on my “Home Lab Build”, I have deployed two NetApp ONTAP Select (OTS) instances on a pair of Intel NUCs as this is my storage foundation for the remaining buildout. With Production Storage (OTS400) and Disaster (OTS100).
I have deployed two instances of VMware vCenter using different methods (automated with Ansible and the traditional method with an ISO). These vCenter installations are to simulate a Production (HomeLab-A) and Disaster (HomeLab-B) both are in Enhanced Link Mode.

I also demonstrated some ‘Security Hardening’ for both NetApp Storage and vCenter.
As I continue to build out my ‘Home Lab’ and as with most Datacenters, a crucial part is ‘Disaster Recovery’ and making sure that Production resources are able to be brought back online as quickly as possible. This generally is taken care of with replicating production data to a secondary site or DR facility.
If I lost my home lab, I would only have lost the time I put into building it, but if you lost an entire Production Datacenter site, that could be catastrophic.
There are several ‘Disaster Recovery’ products out there (NetApp Snapmirror, Veeam, Zerto) but for todays blog post, I am going to deploy vSphere Replication 8.3.
What is vSphere Replication?
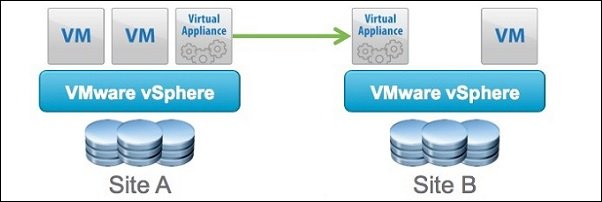
vSphere Replication is a proprietary, host-based replication engine for VMware virtual machines. After initial replication of a virtual machine has been completed, changed blocks are tracked and only these deltas are sent to the target location. This approach lowers bandwidth utilization and enables more-aggressive recovery point objectives (RPOs) than manual, full-system virtual machine copies.
Before Deploying vSphere Replication validate your environment with the VMware 8.3 IMT
In most instances VMware vSphere Replication is sufficient for your replication needs. You may not need to replicate more than 2,000 VMs and have a 5-sec recovery point objective (RPO).
While VMware vSphere Replication is a great product, and can replicate you VMs to another location, the recovery / restoring of your VMs is a manual process. You can imagine how tedious this could be if you had 1000s of VMs to recover. This is where VMware Site Recovery Manager comes in, it has Orchestration to automate the entire workflow. I will go over how to deploy VMware SRM in a future blog post and demonstrate a ‘Green Button’ test.
As I have stated before, I have the Advanced VMUG Membership and have access to VMware licensing for my ‘Home Lab’ I highly recommend you do the same.
vSphere Replication license is included in vSphere Enterprise Plus, while SRM is an independent product and is a per VM or per CPU (as part of vCloud Suite Enterprise) vSphere Replication uses network-based Replication; SRM uses storage array-based replication
The VMware vSphere Replication requires no additional licensing as long as you have vSphere Enterprise Plus. I will be configuring 2 separate sites connected through Embedded Link mode for Production (HomeLab-A) and Disaster (HomeLab-B).
First, you will need to download the ISO file containing the replication appliance OVA. The file is located at my.vmware.com under All Products –> VMware vSphere.
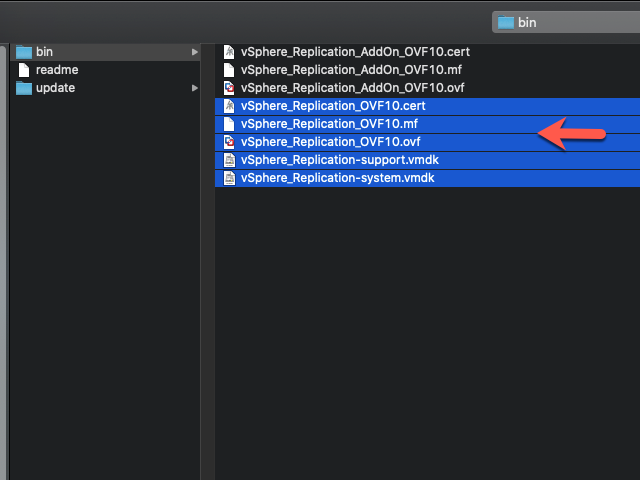
After downloading the ISO, mount it from a computer that is on the same network as your vCenter. When browsing the mount location, you will see several OVF templates located inside the folder “bin”.

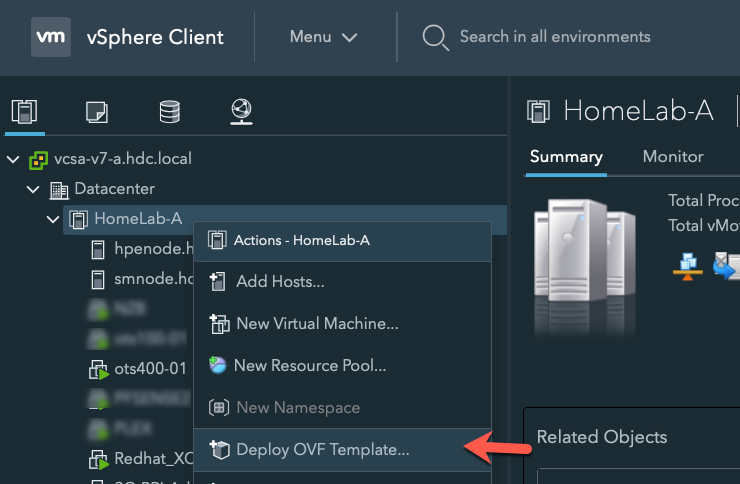
Next, Log into the Production vCenter ‘HomeLab-A’ site and right click on the Cluster ‘HomeLab-A and click on deploy an OVF.
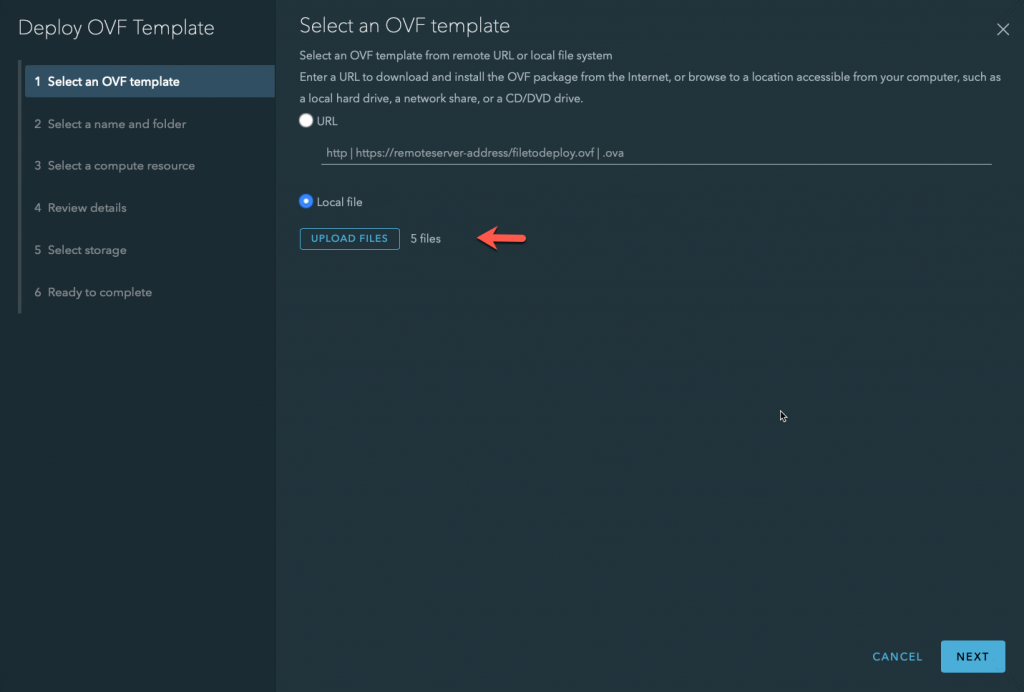
Click on Upload Files and select the following files from the mounted ISO
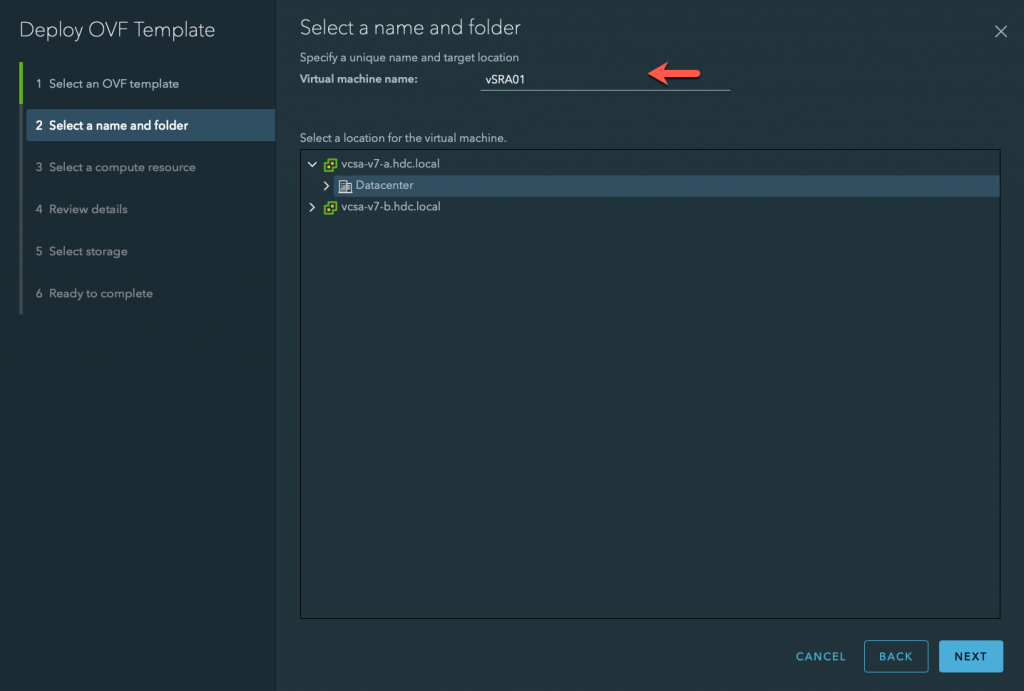
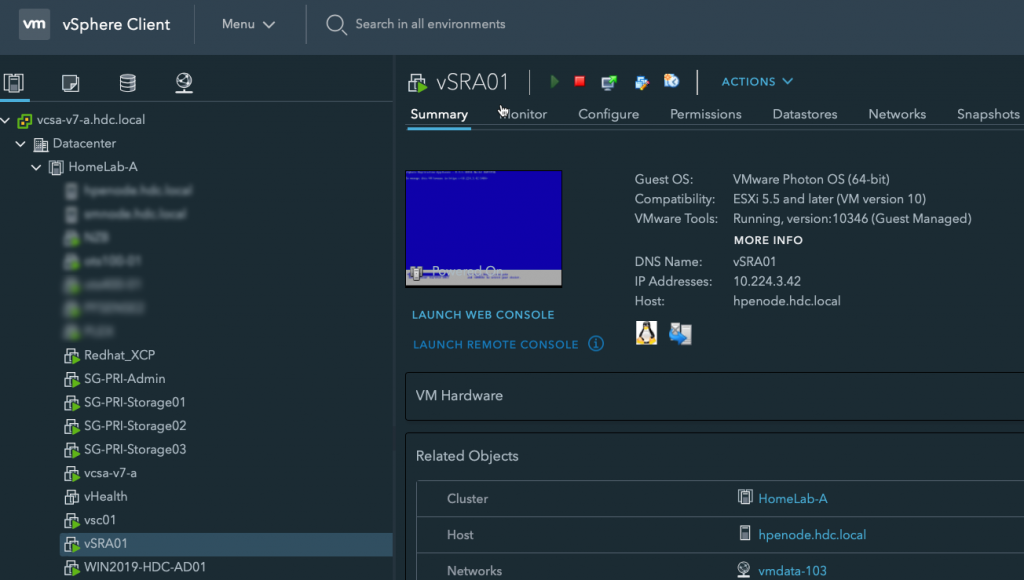
Provide a name for your VM, I am using the FQDN name that is already registerd on the DNS Server. Make sure to select the Production SiteA vCenter.
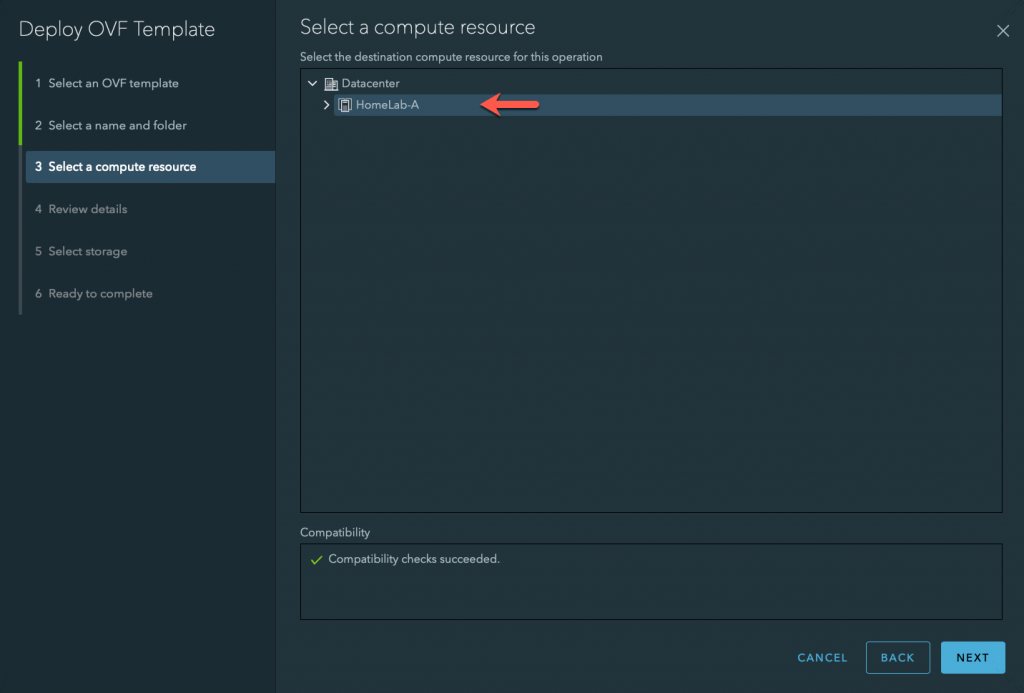
Select a Compute Resource
Review Details

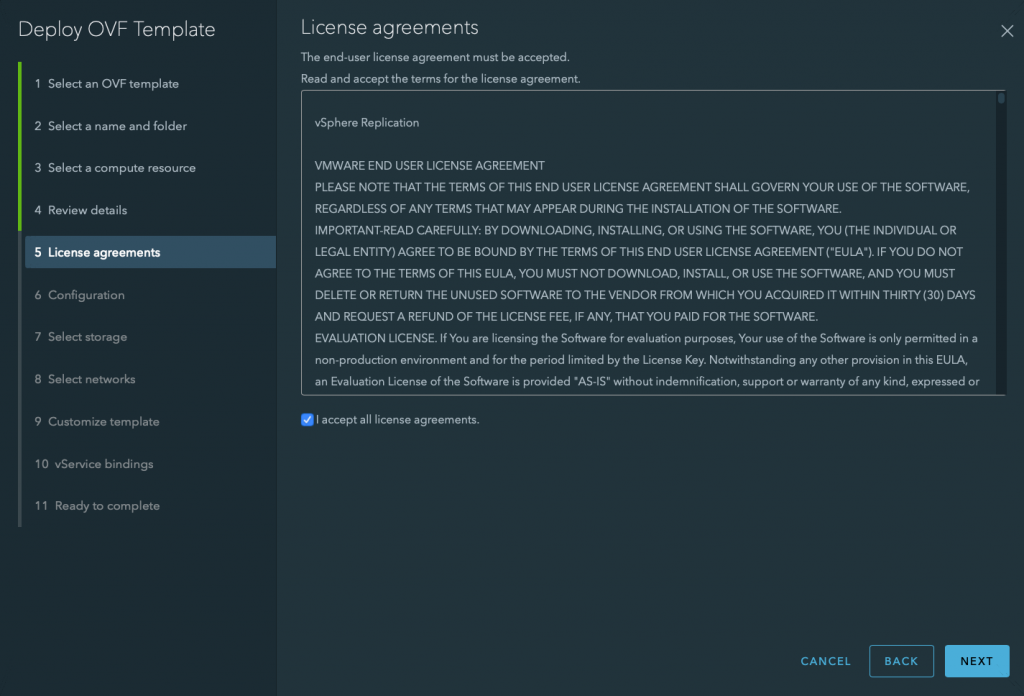
Acept EULA
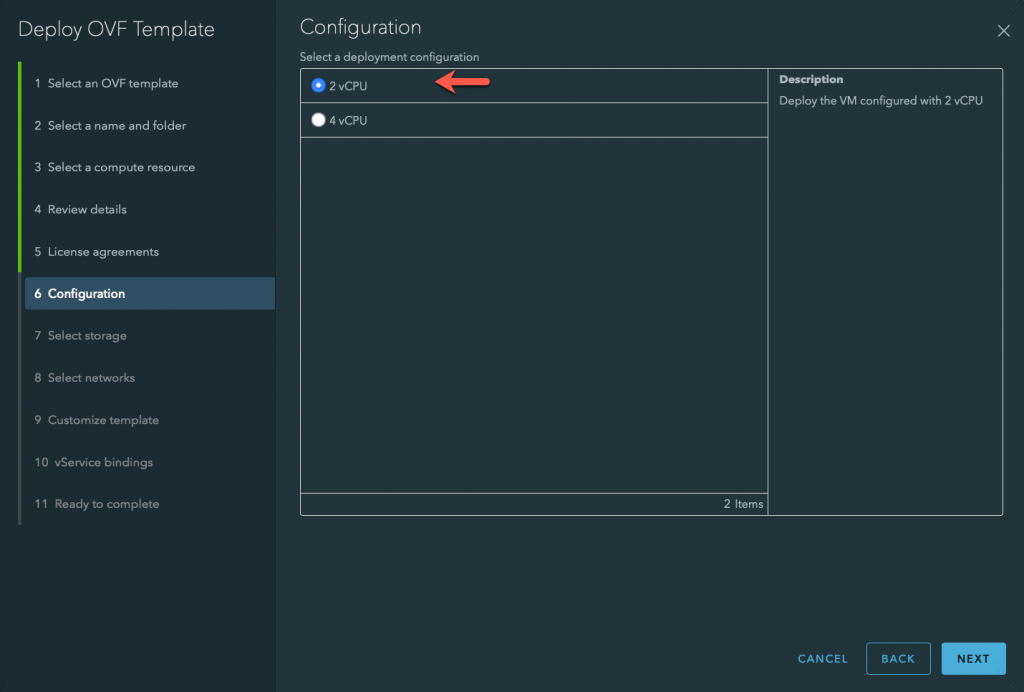
For my Lab Deployment, I am only selecting 2 vCPU
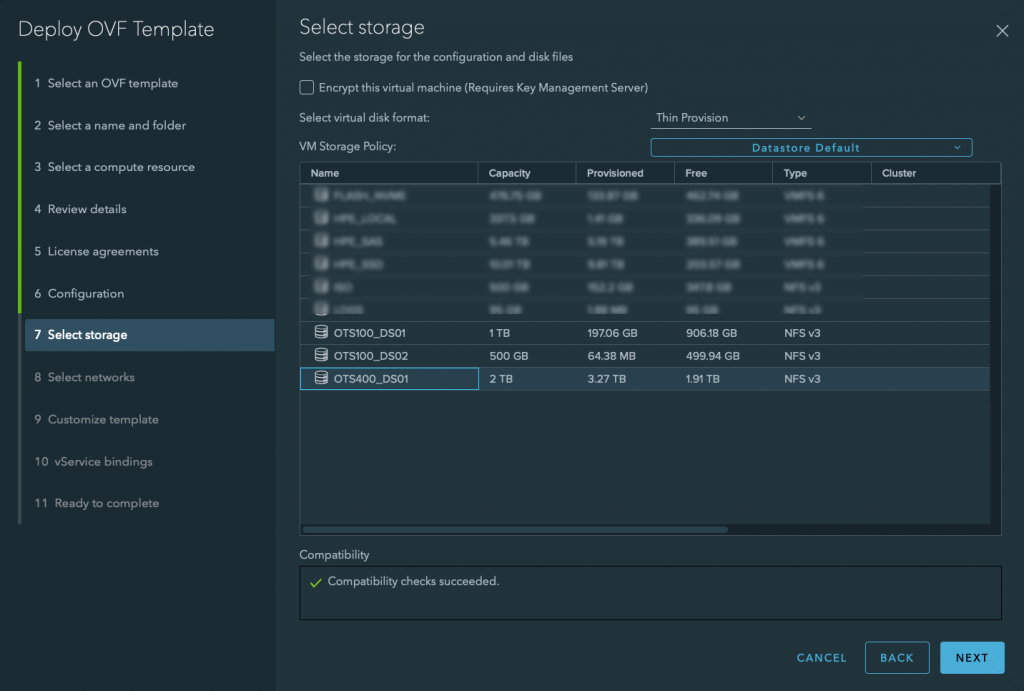
Select the DataStore
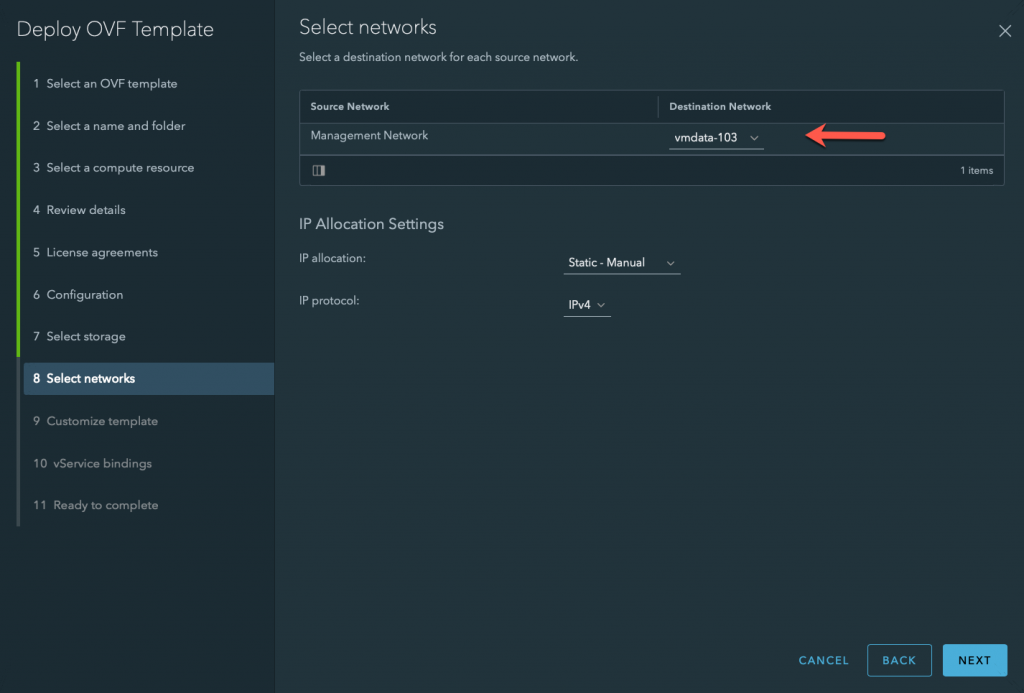
Select the Management Network
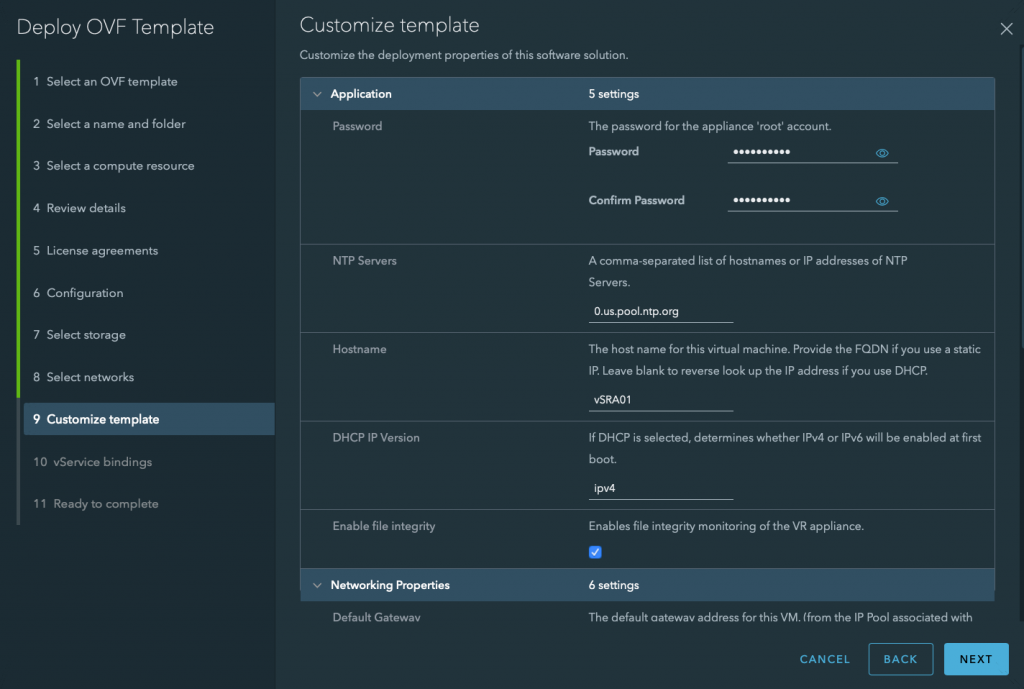
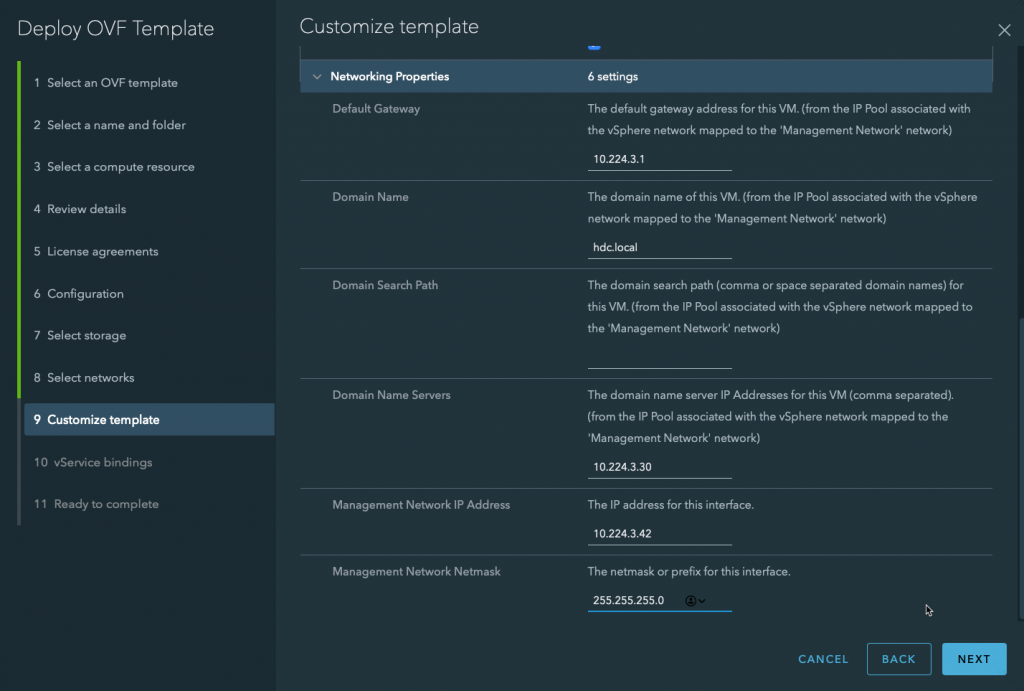
Fill out the Customized Template, make sure that you use FQDN and resolvable NTP servers.
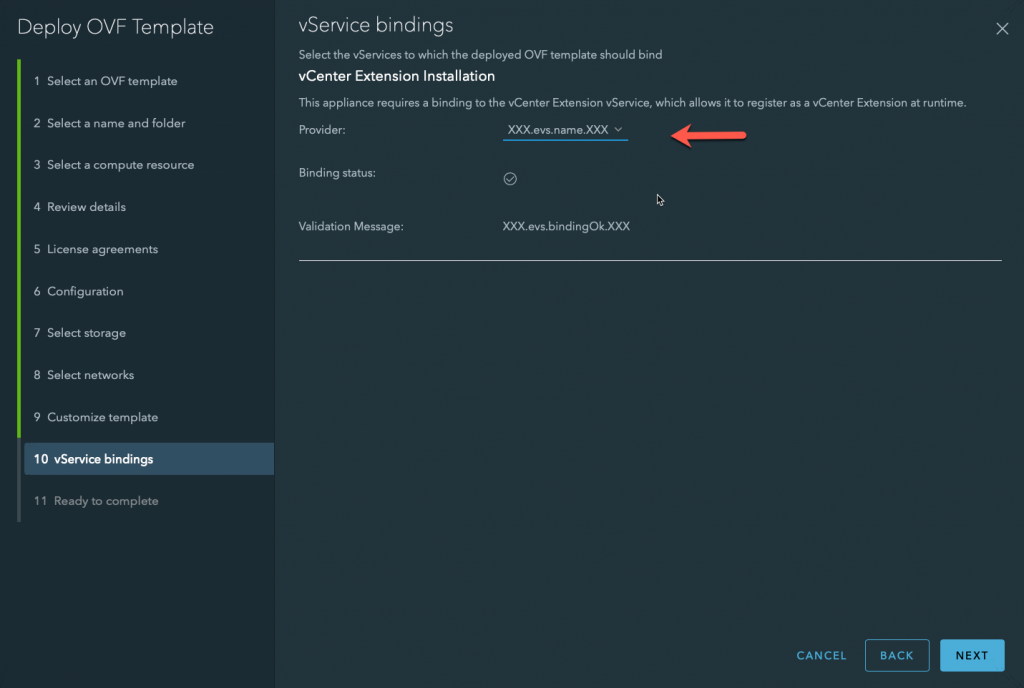
Acept the Default Setting and Click Next
Review setting and modify if needed, else click Finish
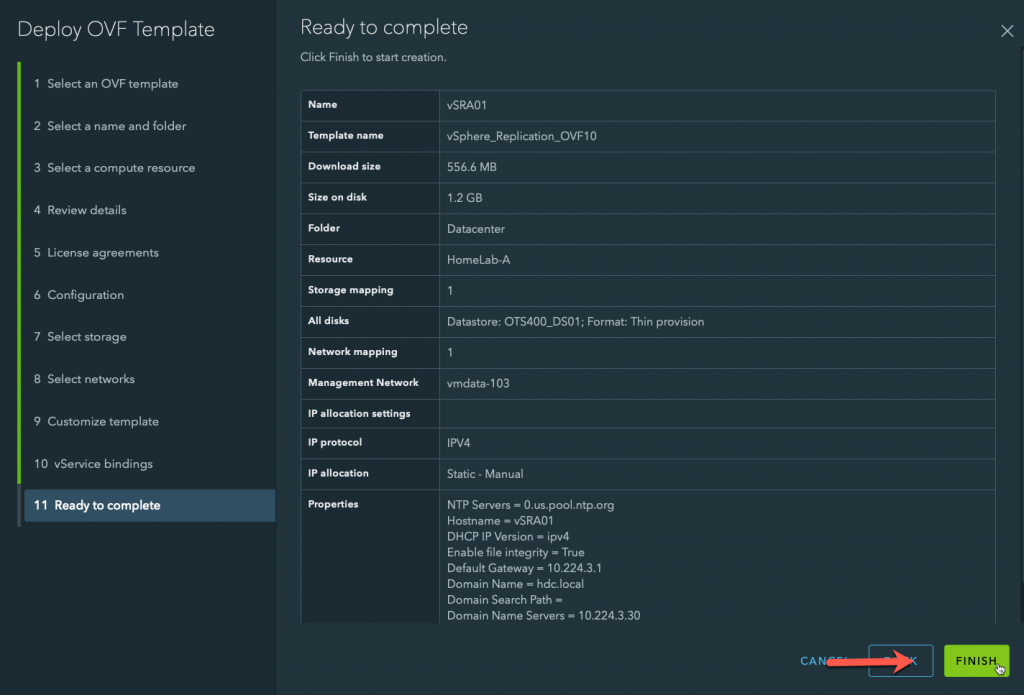
Depending on the hardware in your environment, the deployment may take some time. You can repeate the same process on the Disater Recovery Site-B.
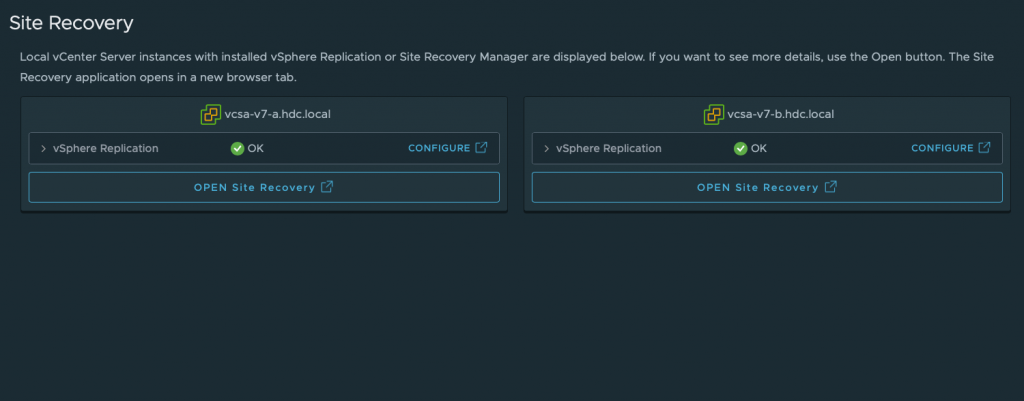
Registering VMware vSphere Replication 8.3 with vCenter Server 7.0
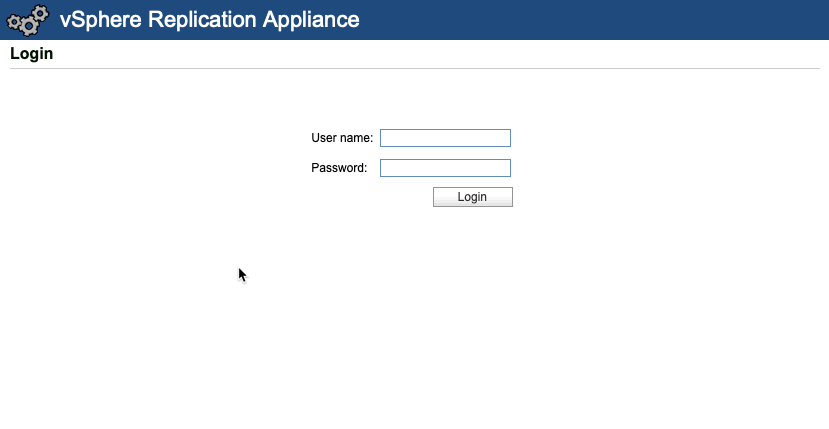
The next step is register VMware vSphere Replication with vCenter Server. To do this, login to your vSphere Replication 8.3 Appliance in the VAMI interface or port 5480 to be exact.
- https://<replication appliace IP>:5480
- Login with root / password
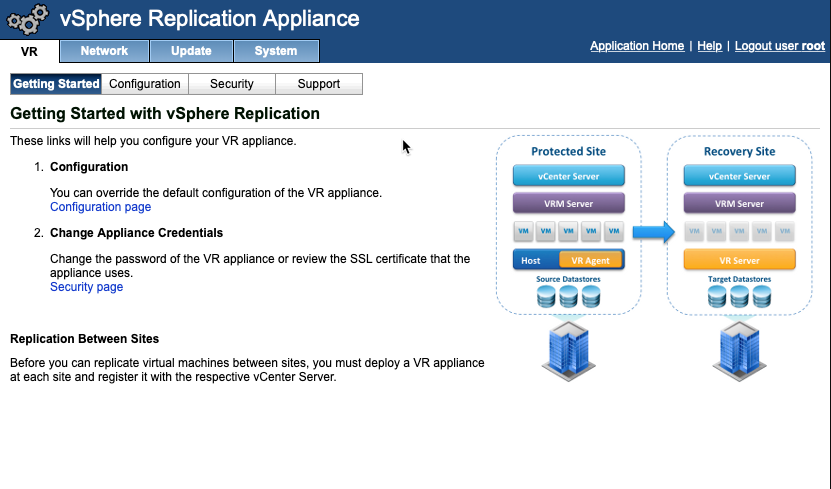
Click on Configuration
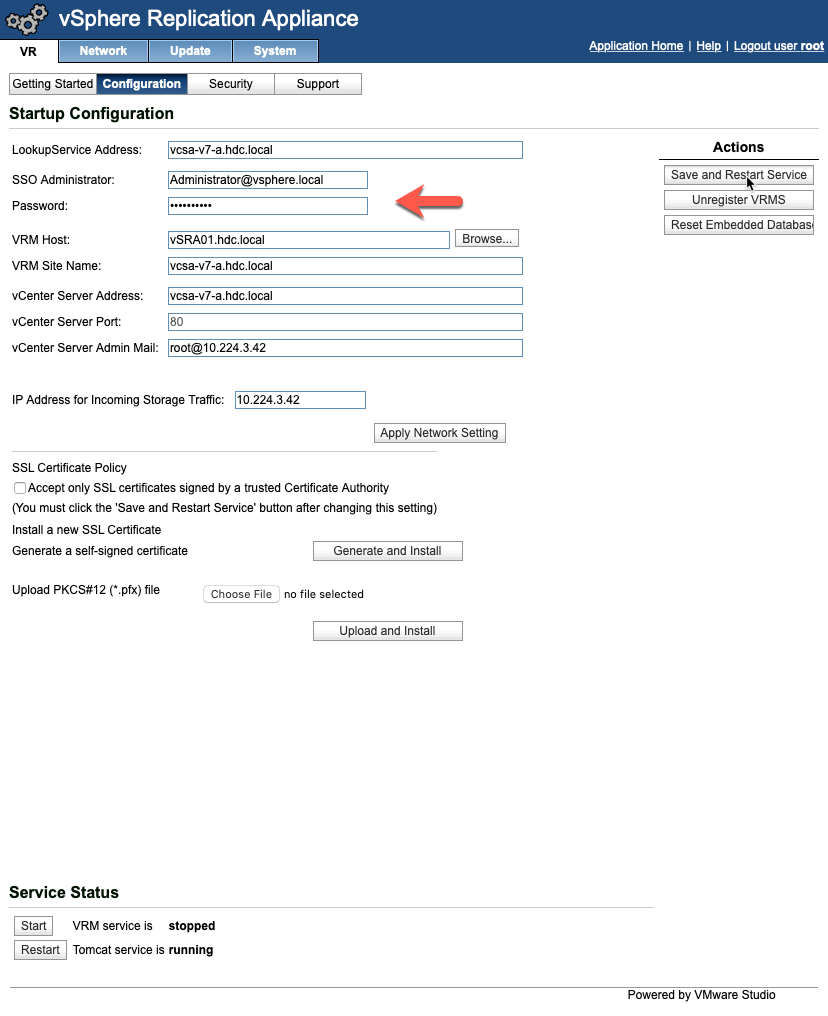
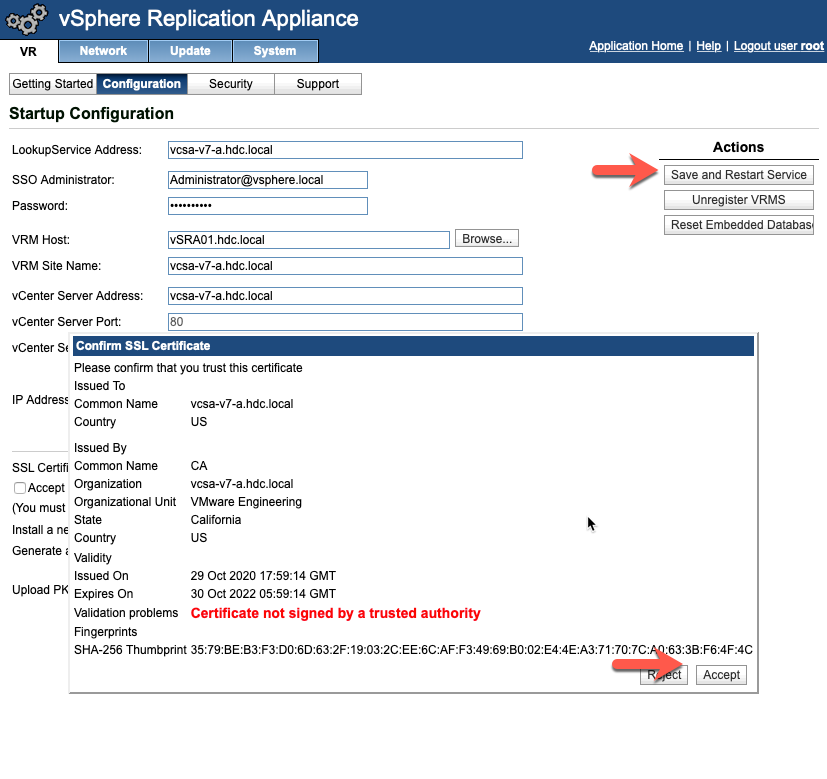
Enter the Password for Production vCneter and Click Save and Restart Service.
Acept the SSL Certificate
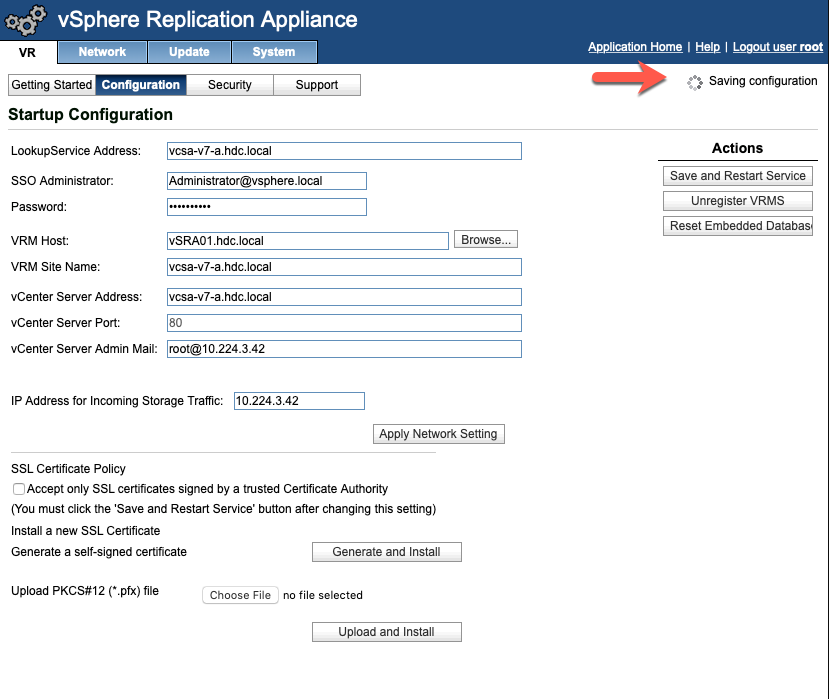
Services are Starting
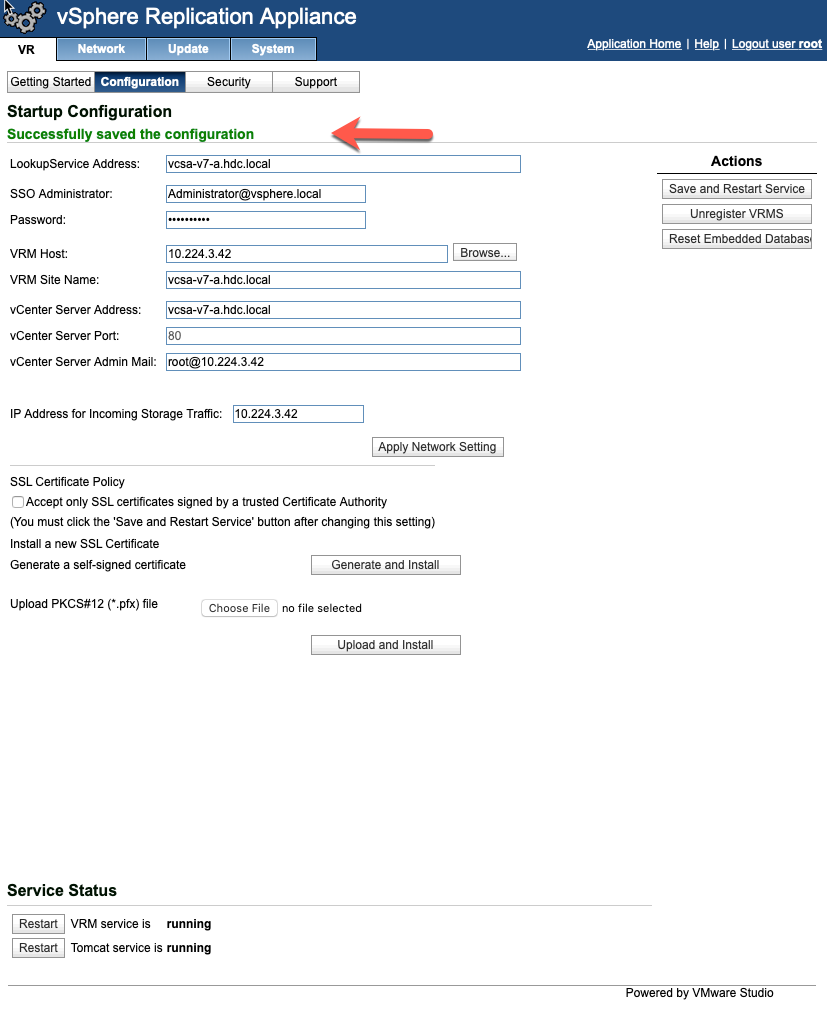
Successfully Saved Configuration
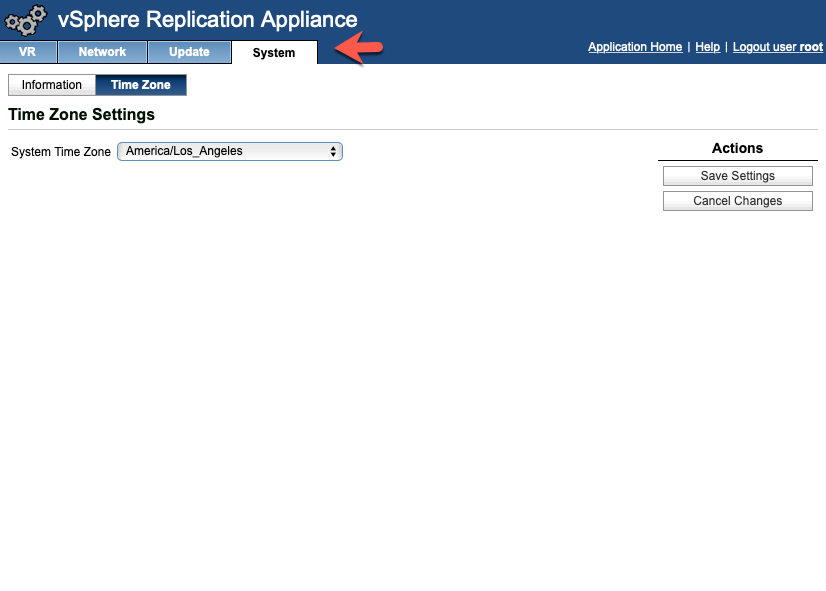
Make sure to set TimeZone before Closing URL
Repeat the process for the Recovery Appliance on Site B.