
In my last post I demonstrated how easy it was to a deploy NetApp HCI solution. In preparation for this blog post, I chose to only select 2 Compute Nodes during the NetApp Deployment Engine (NDE); allowing me to demonstrate how easy it is to add additional compute nodes to an existing deployment.
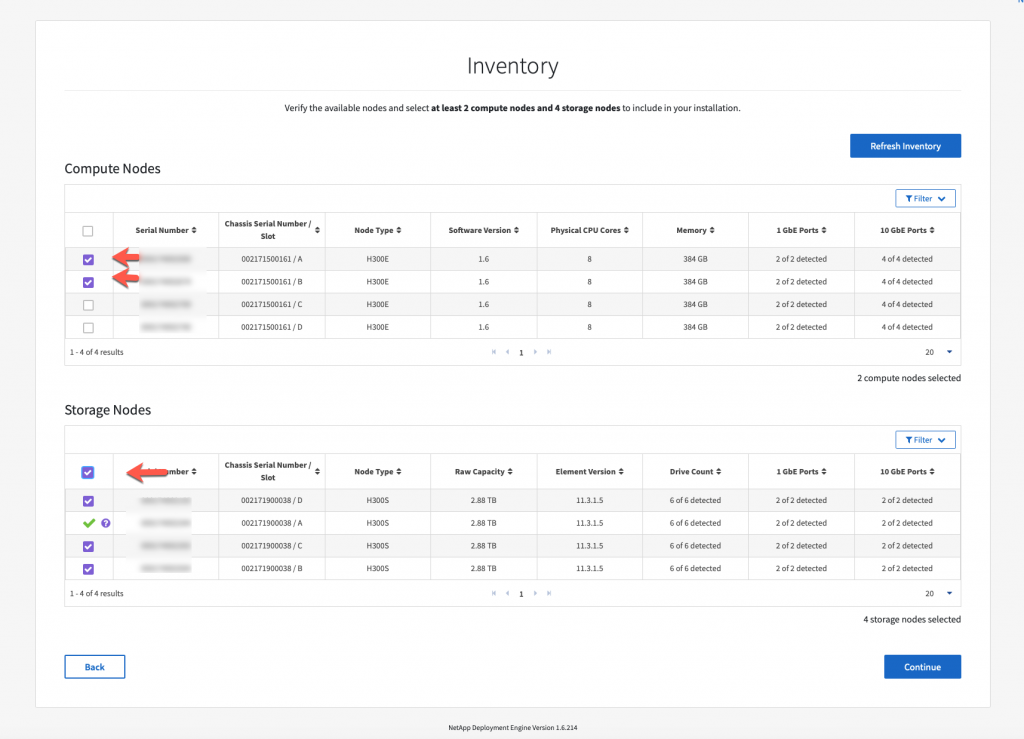
One of the major differentiators of the NetApp hyper converged solution is the ability to expand your NetApp HCI with Compute and Storage Nodes independently.
Since I am adding 2 Compute Nodes that have already been ‘return to factory image’ (RTFI), I can easily add them to my existing HCI solution, otherwise you will need to make sure to validate code levels before proceeding. If you would like to learn how to (RTFI) please look at my previous posts.
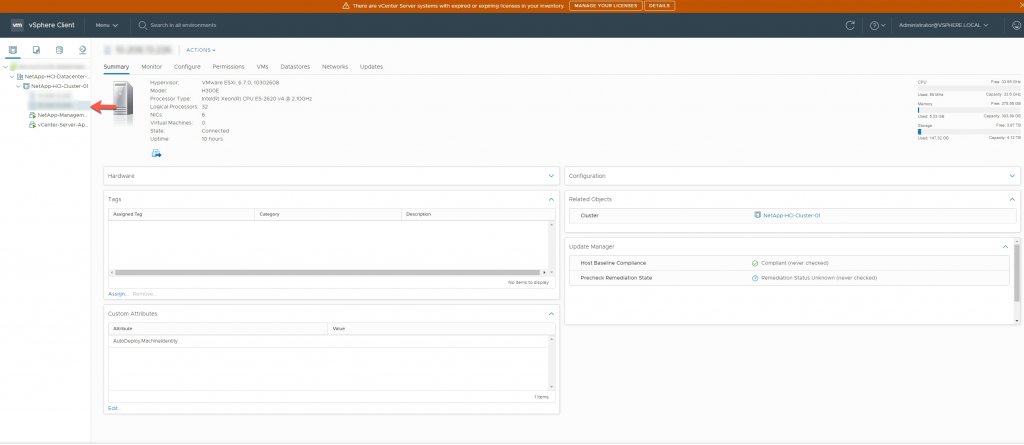
To start the expansion of the cluster, connect to the NetApp HCI vCenter. As you can see, I only have two compute nodes available.
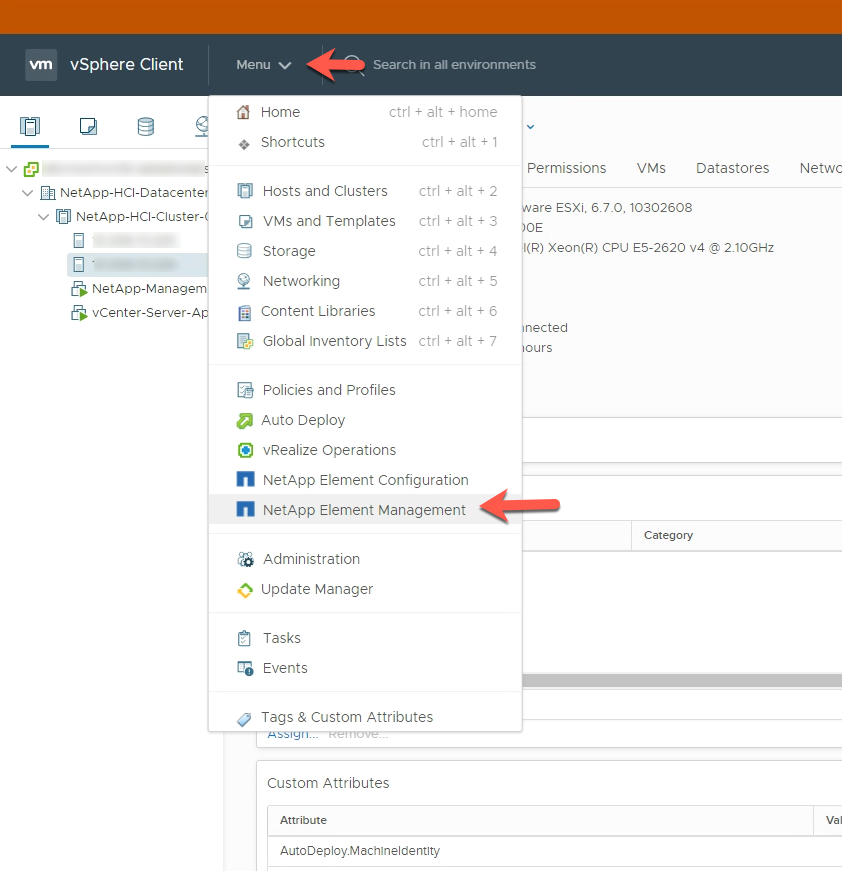
Click the home button and select NetApp Element Manager.
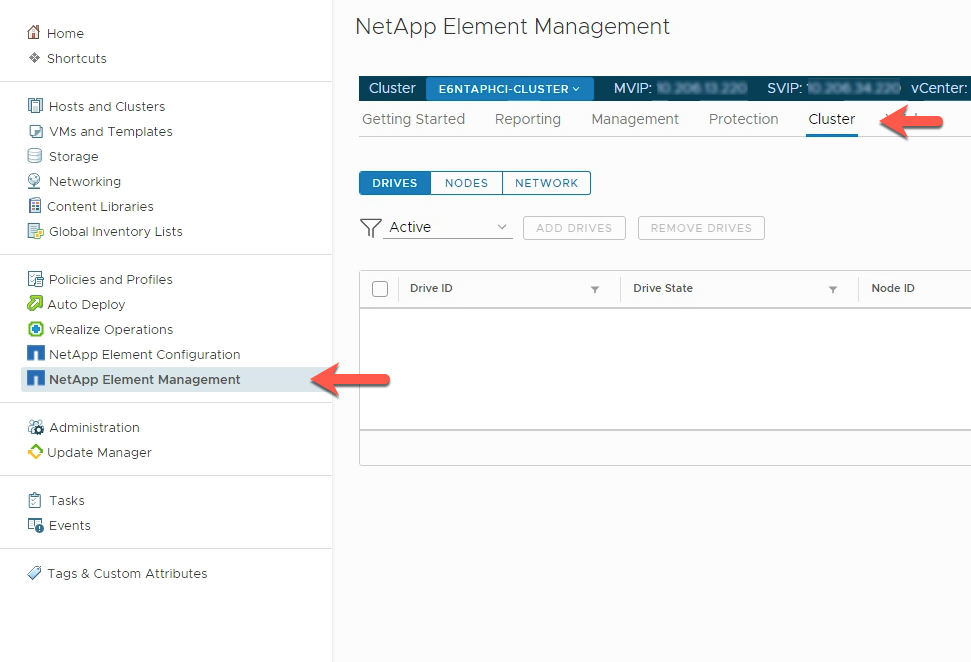
Once you are in Element Manager, select Cluster and then select Nodes.
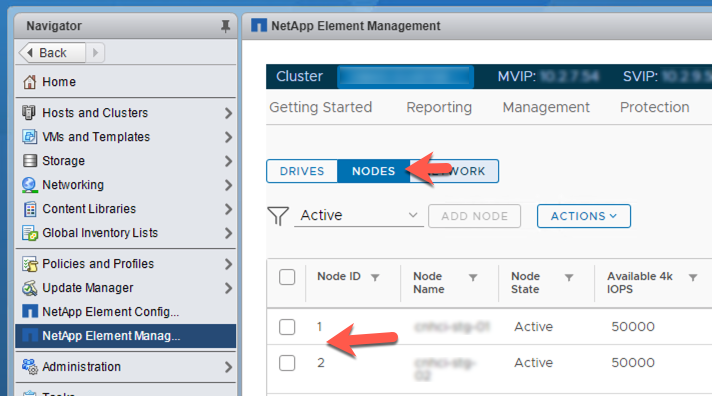
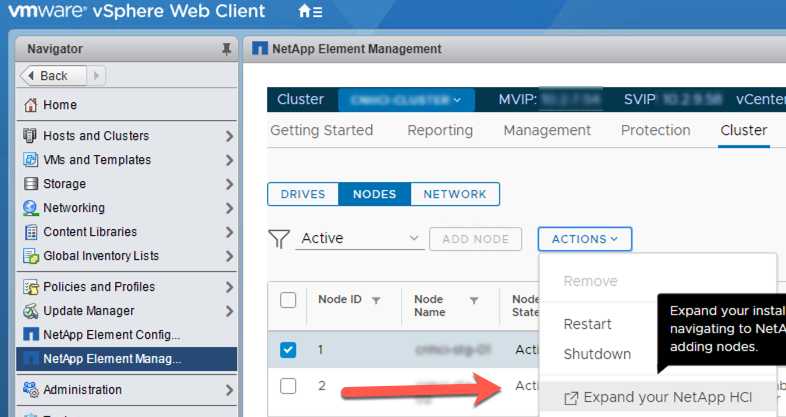
Select the nodes in the cluster and under actions select Expand your NetApp HCI
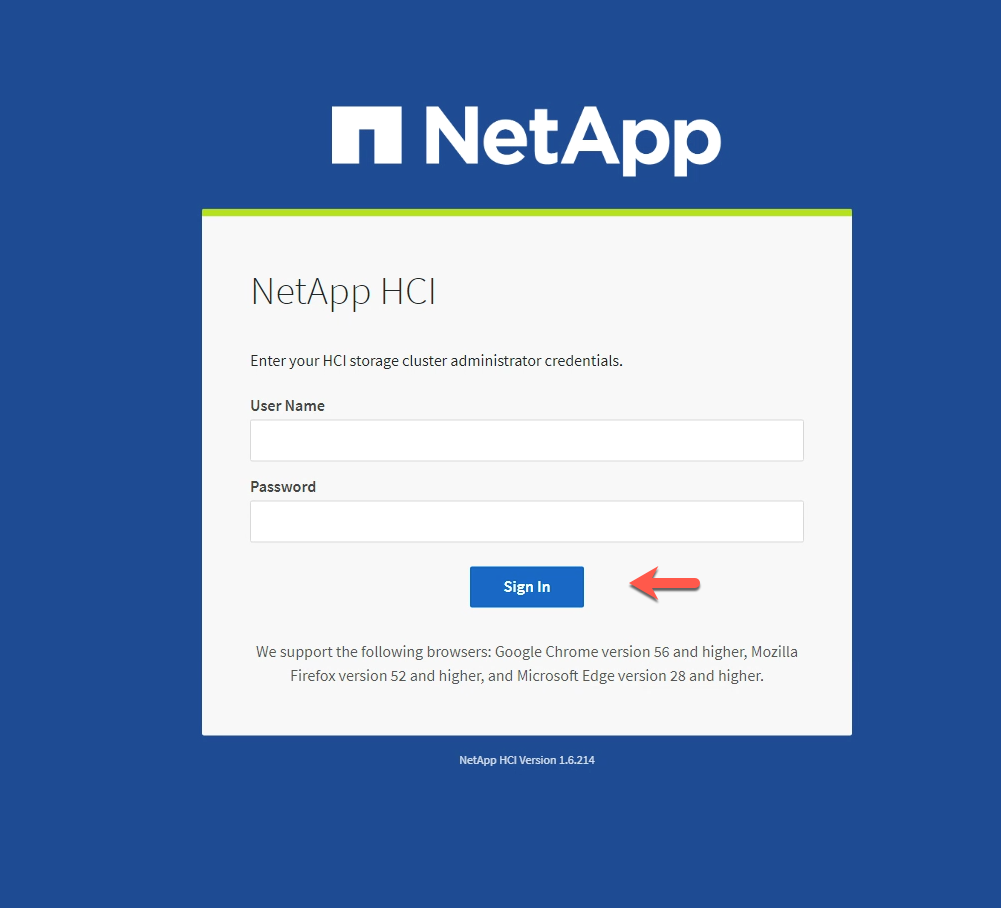
After clicking on the ‘Expand your NetAPP HCI’ this will open a NEW browser Window, requiring credentials.
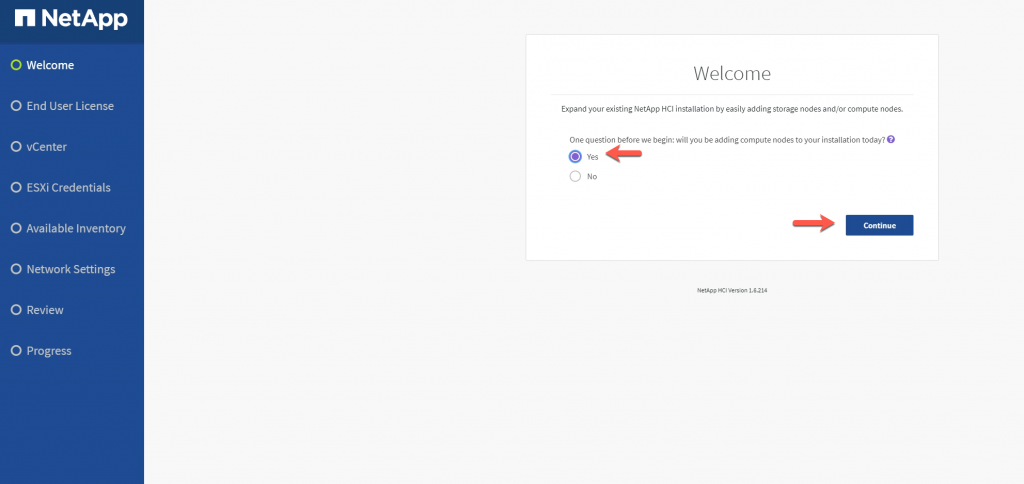
Since I am adding Compute Nodes, I selected the appropriate radio button.
After reading the EULA, accept and continue.
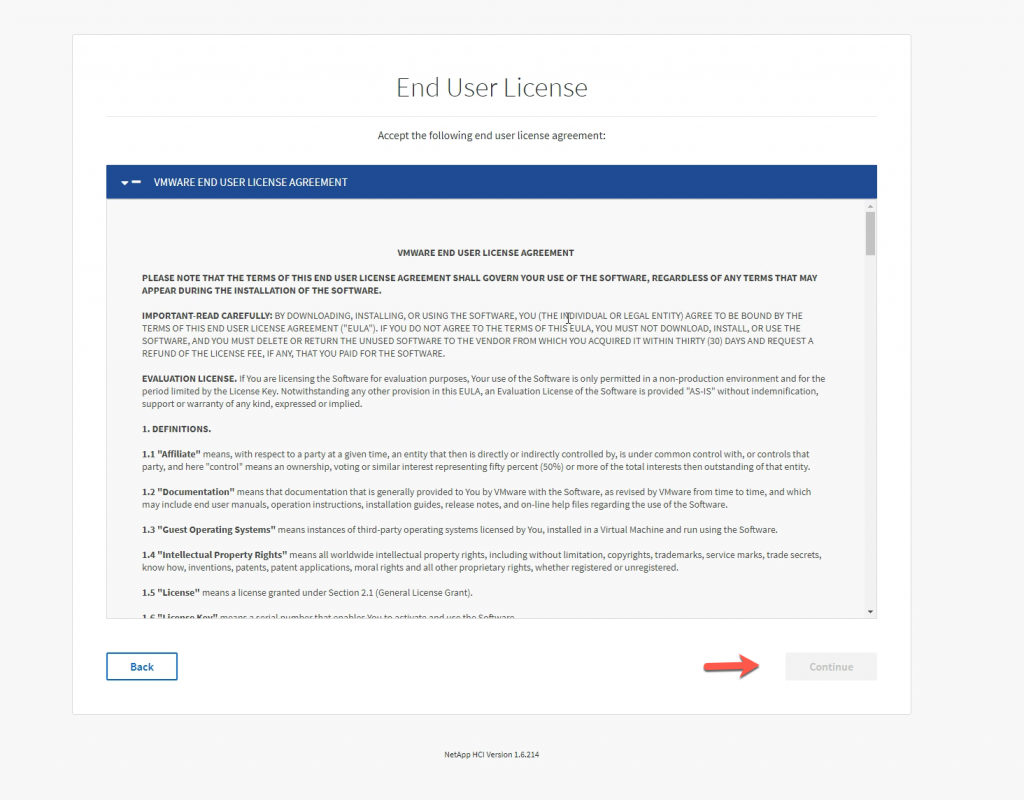
Enter the HCI vCenter credential and continue.
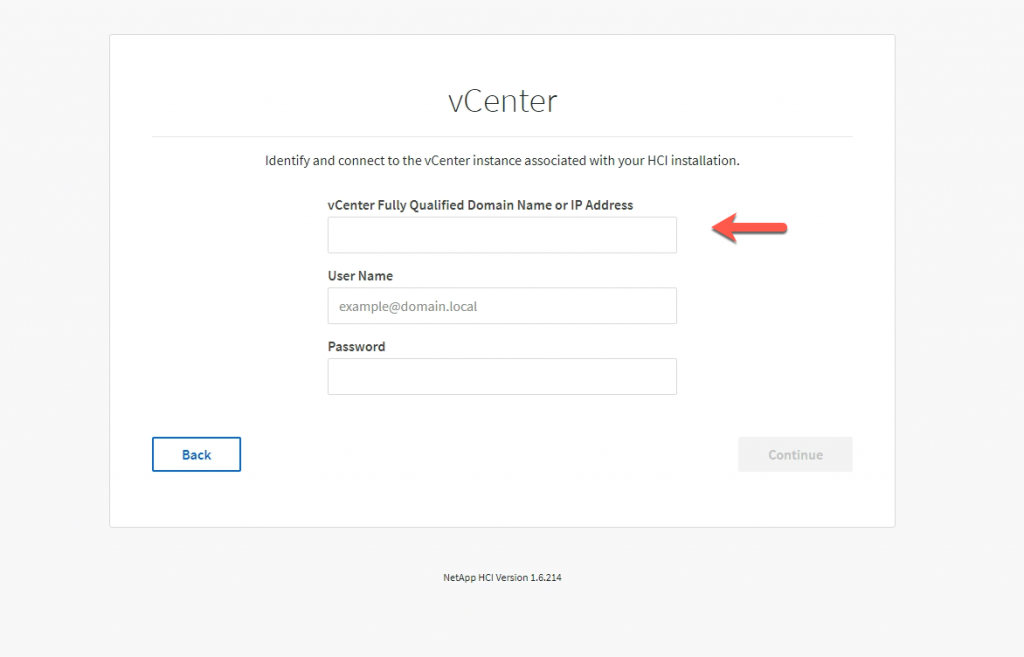
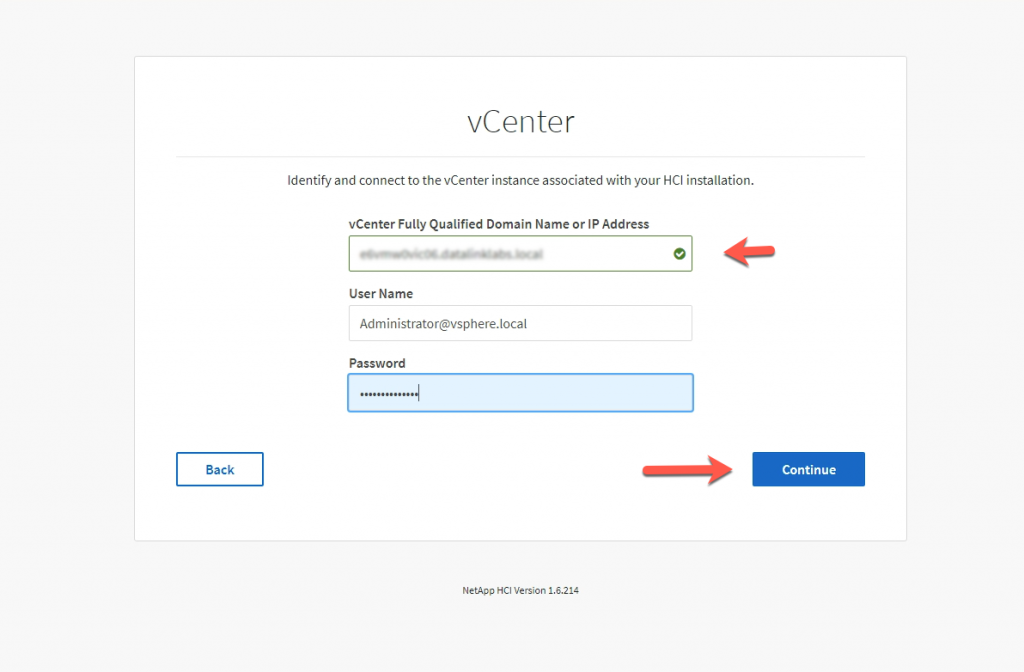
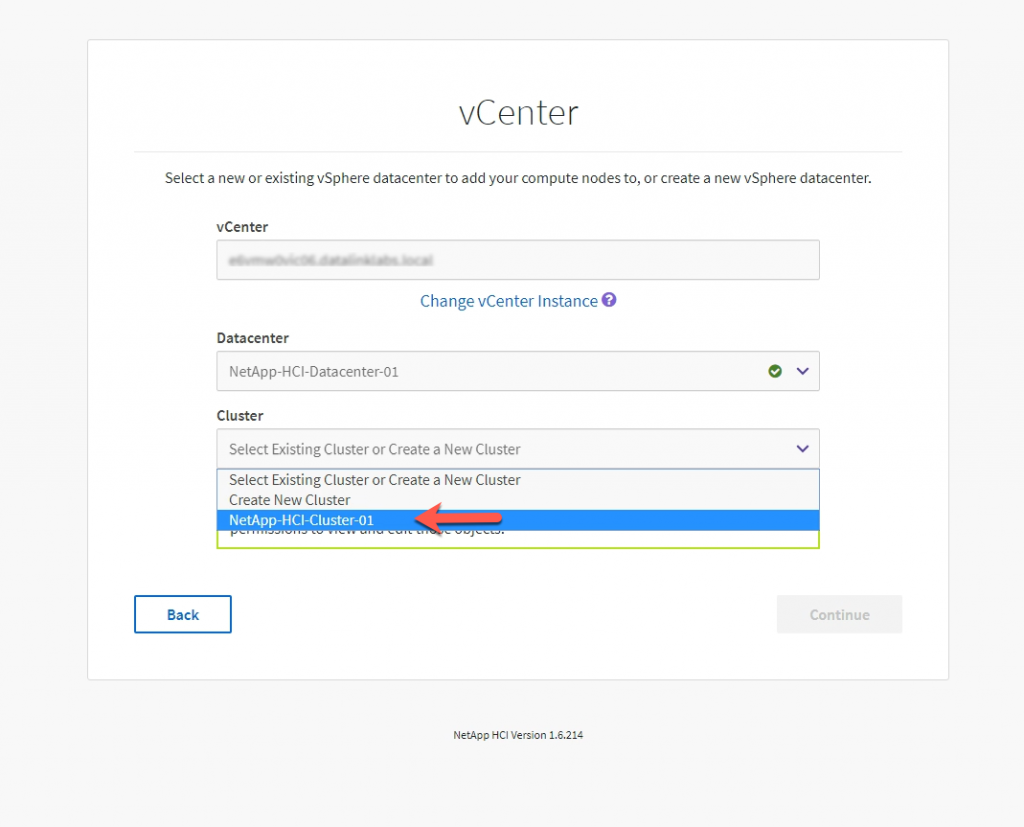
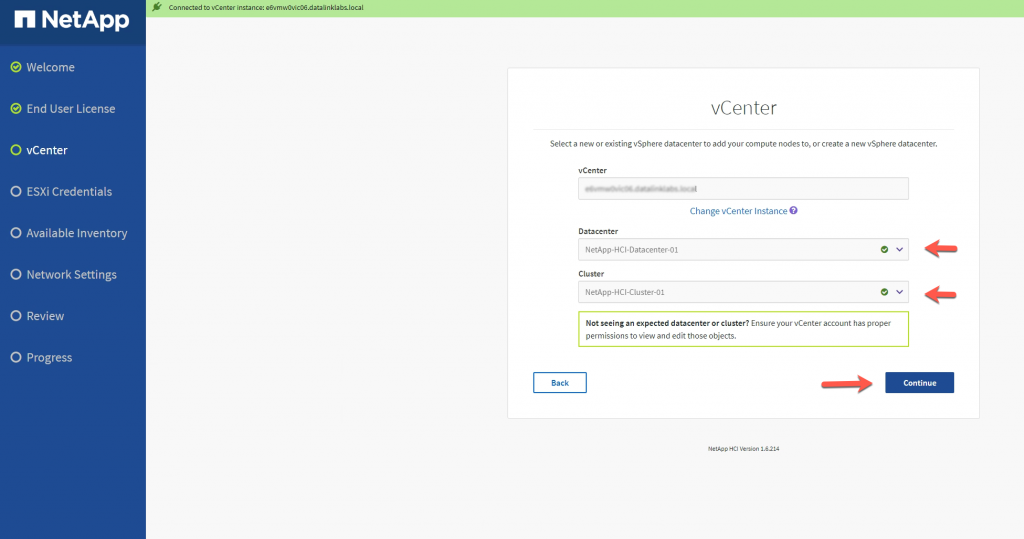
Select the HCI Cluster and Continue
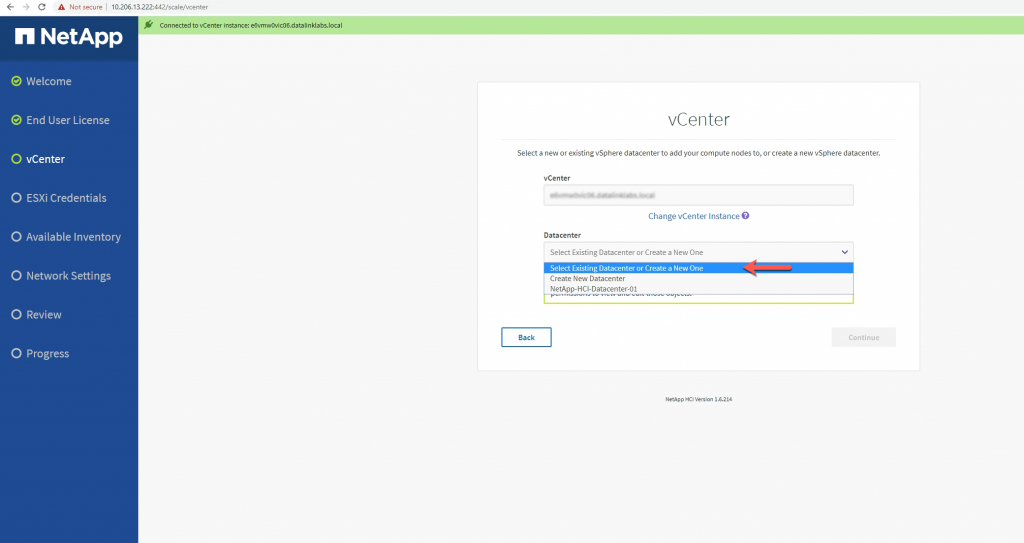
Select the HCI Datacenter and Continue
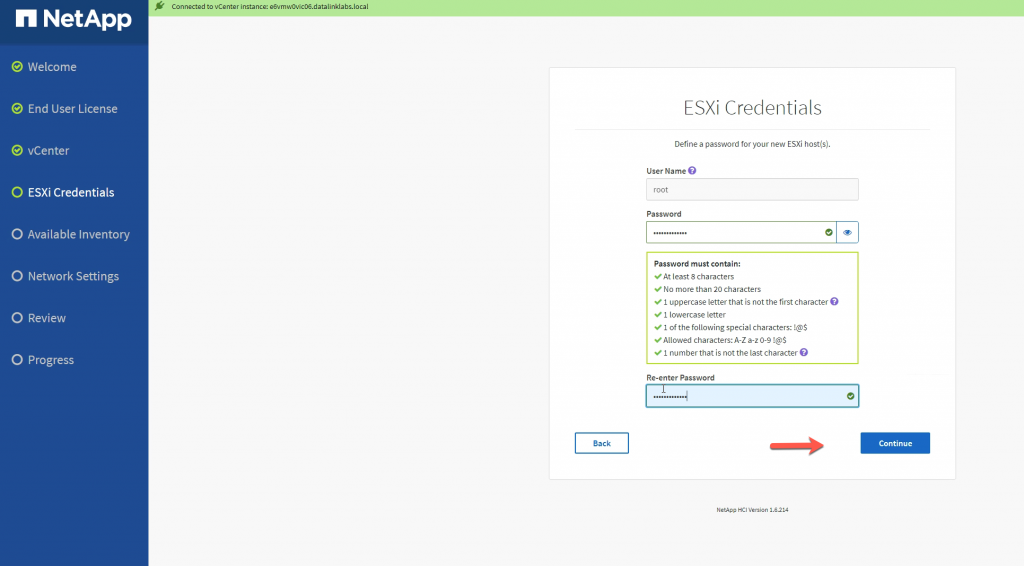
Enter the root user / password and Continue
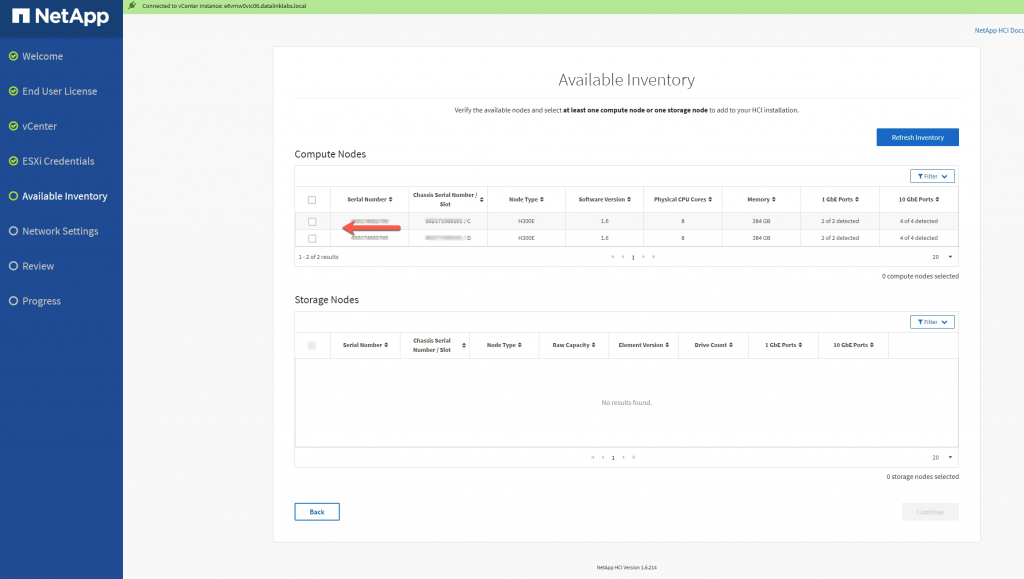
Select the discovered Compute Nodes and Continue
Enter the Networking information from your deployment workbook.
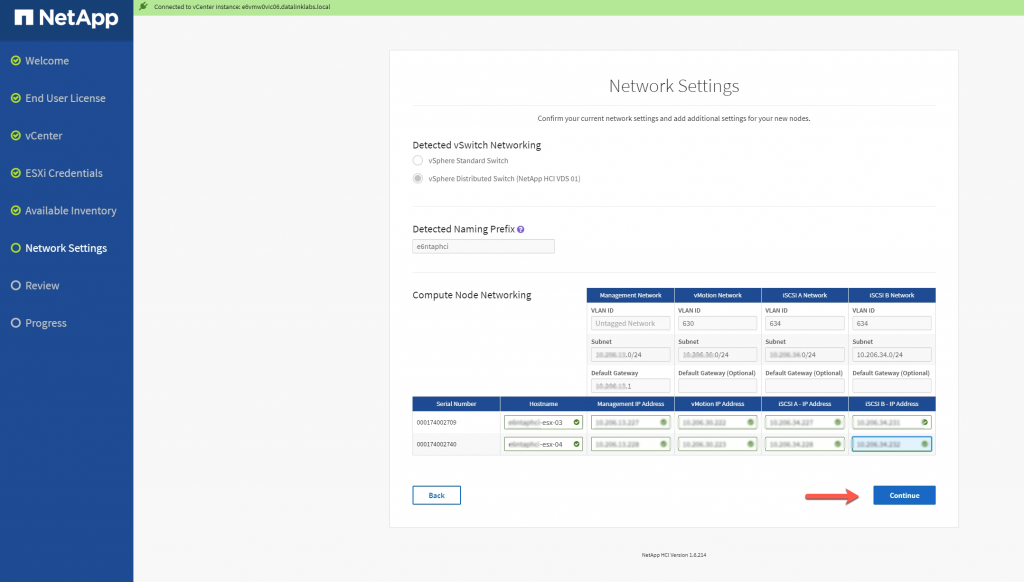
Review Information and Continue
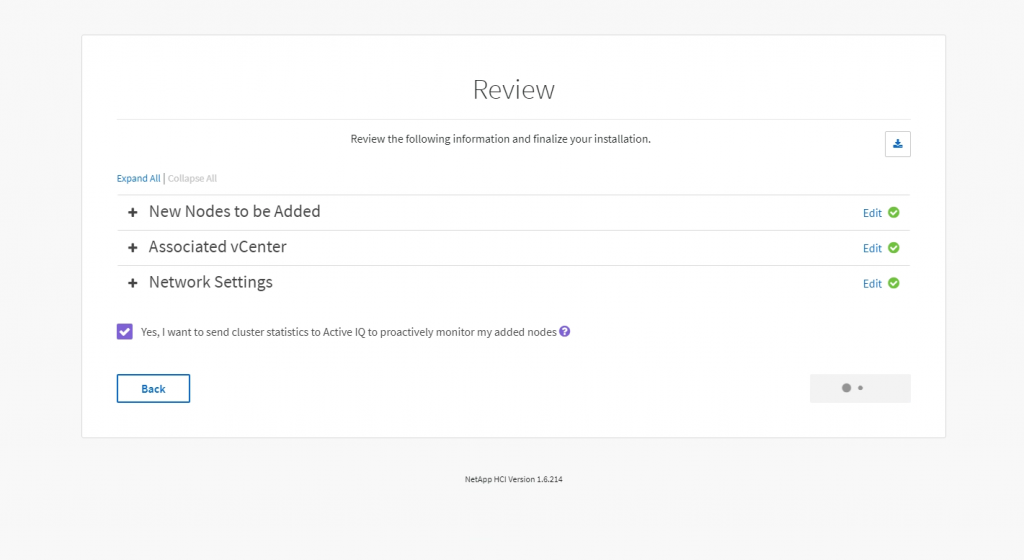
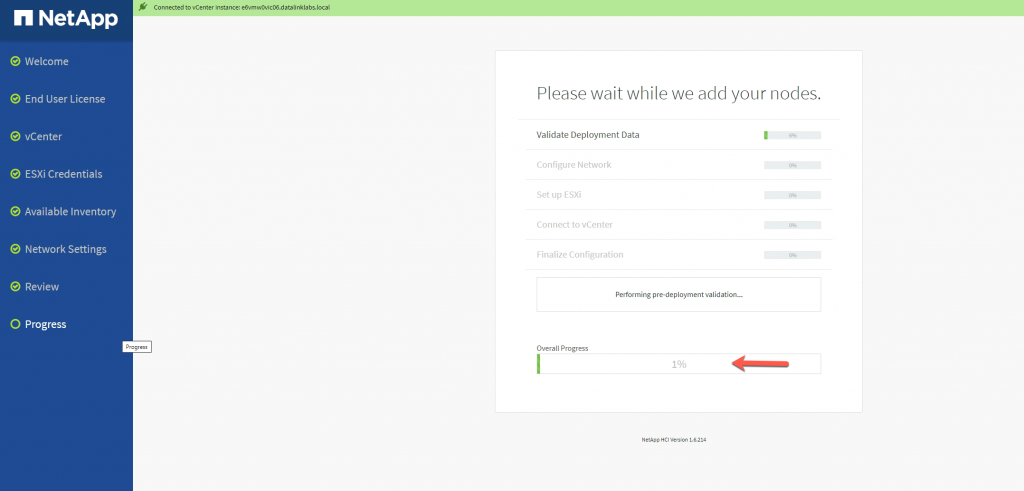
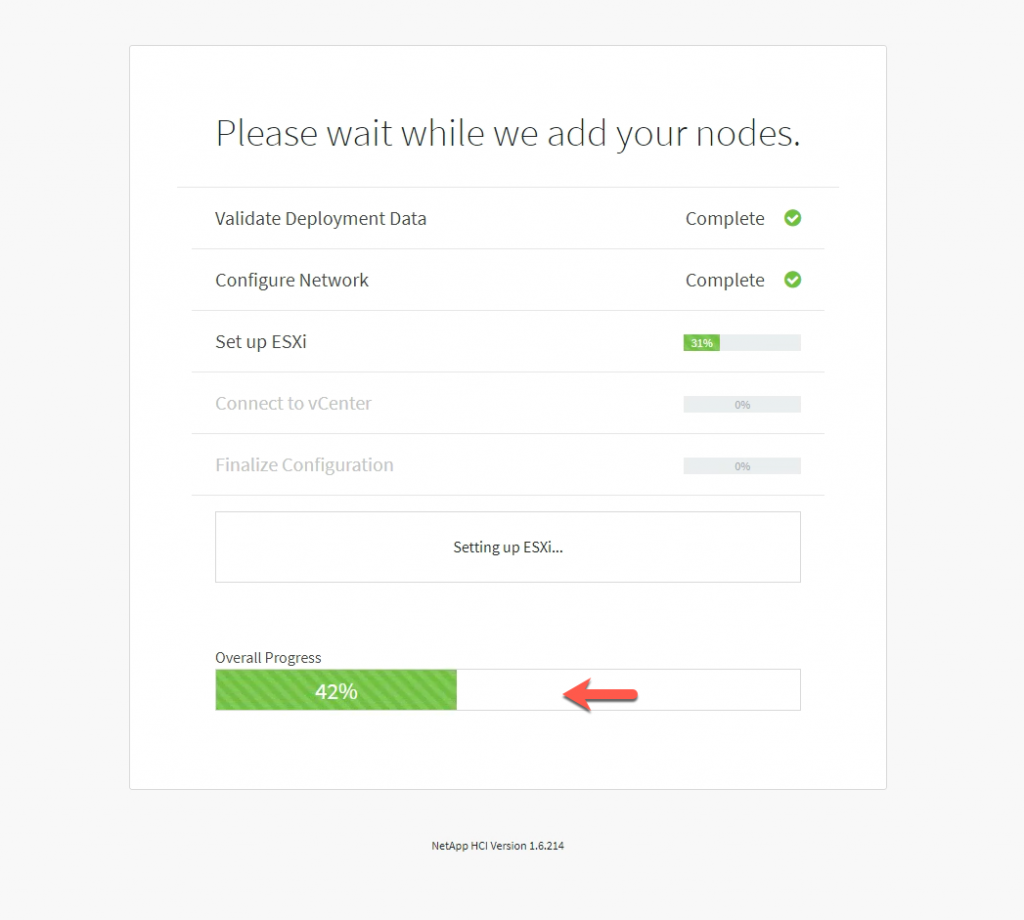
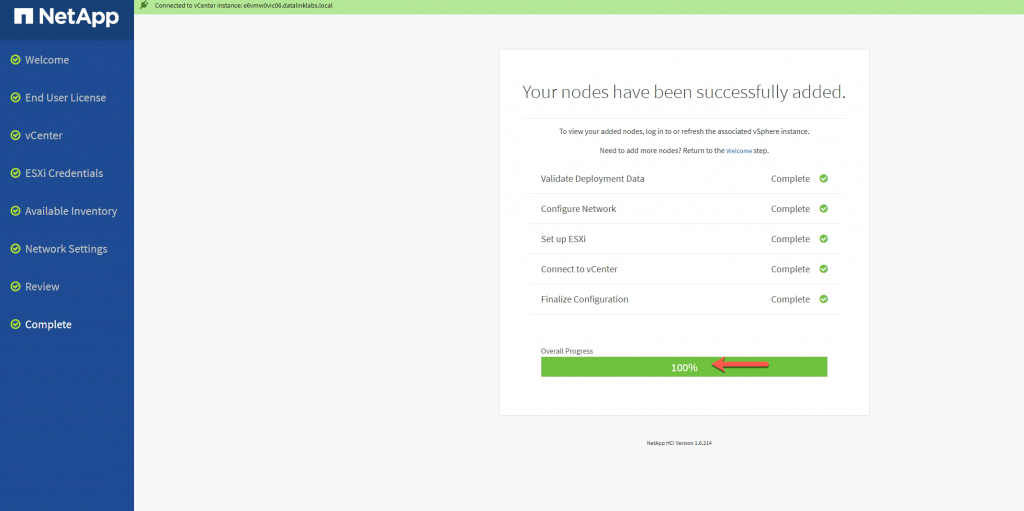
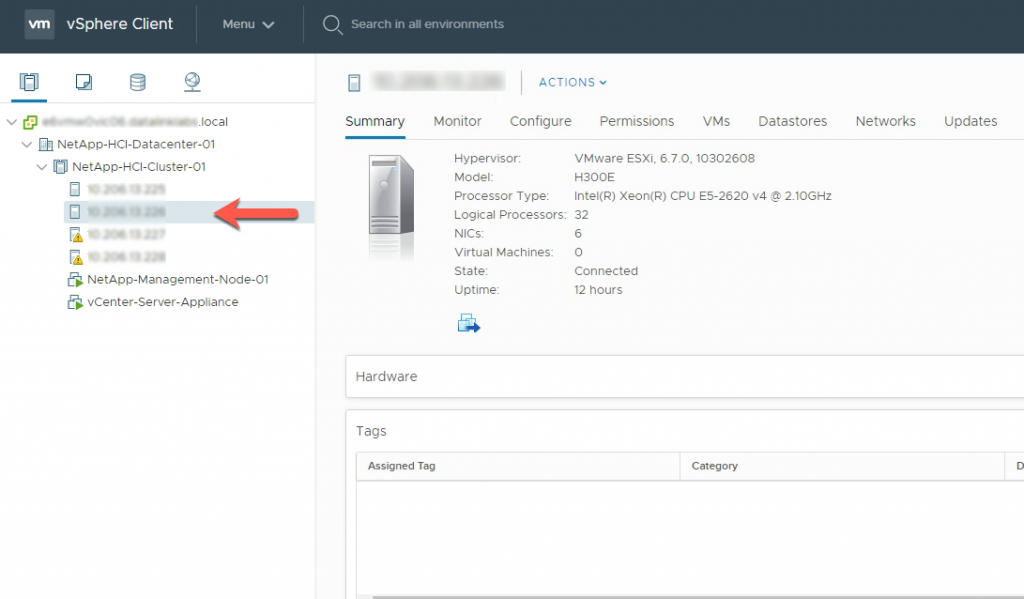
This NDE Compute Node expansion will take roughly 45 minutes and as you can see its pretty easy and straight forward.
Hi Allen,
Nice article, thanks for sharing!