After upgrading my home lab infrastructure, I decided to change my IP schema from a 192.168.X.X to a 10.0.X.X
My hope was to avoid potential overlapping IP conflicts, when creating private VPN tunnels between sites; for SnapMirror projects. More on that later….
After successfully changing the IP addresses on my Ontap Select Cluster and the underlying LIFs, I noticed a mailbox error in System Manager, notifying me that I could no longer perform a takeover or giveback.
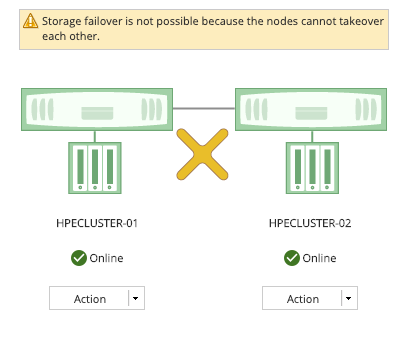
Remembering that I forgot to change the IP address on my Ontap Select Deploy (Mediator), which is a requirement to manage the HA of your 2-Node Ontap Select Cluster, I could not locate a way to modify the management IP.
After researching, I found out that you cannot just modify the existing Ontap Select Deploy VM, you need to create a Backup of the old Deploy VM and restore from backup to a new Deploy VM.
The Procedures are located in the NetApp Ontap Select Deployment Guide.
- Backup and Restore Deploy VM must be the same Version.
- The NEW Deploy VM must be in a blank state, just deploy the OVA and make no modifications.
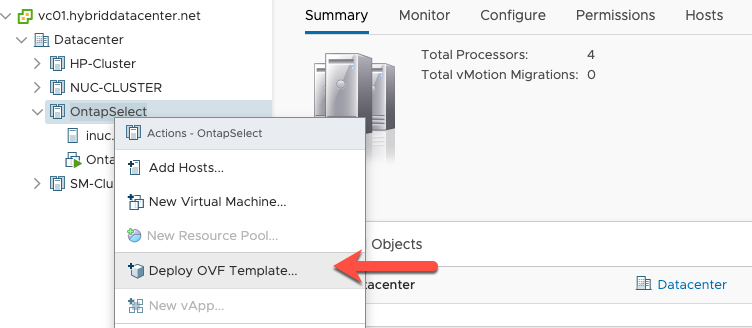

Deploy Ontap Select OVA with NEW IP schema
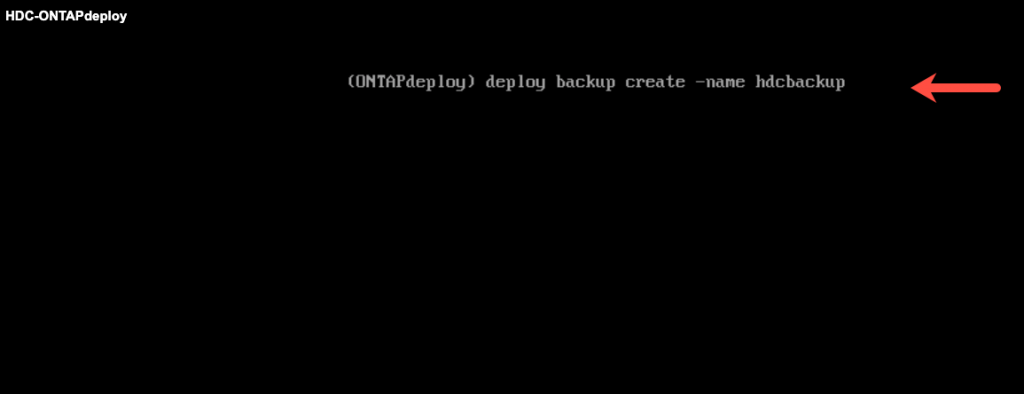
How to create a Backup of your Ontap Select Deploy VM
- Create a backup of the existing Deploy
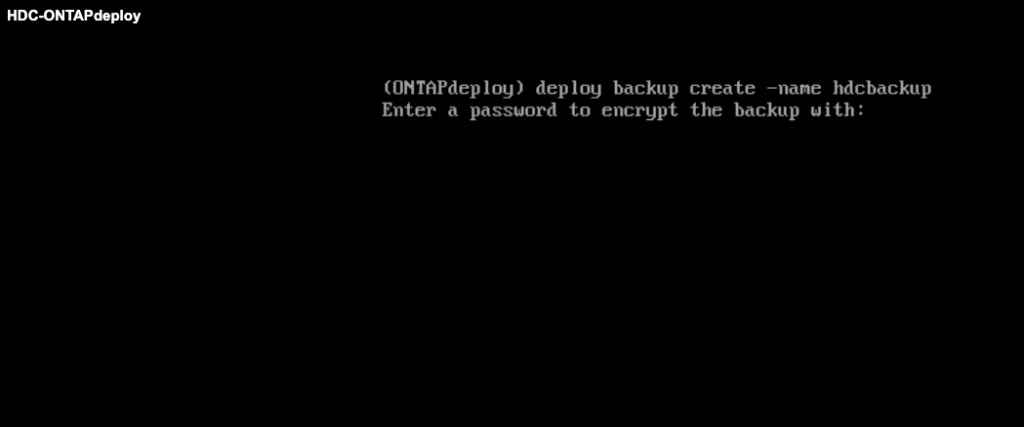
- Enter a password to encrypt the backup
- Retype the NEW password
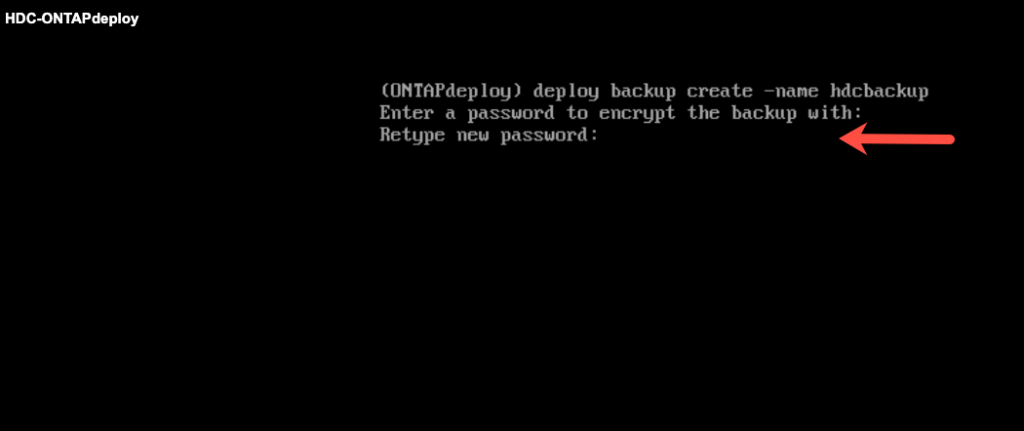

- Backup Job Started

- Check on Backup Job
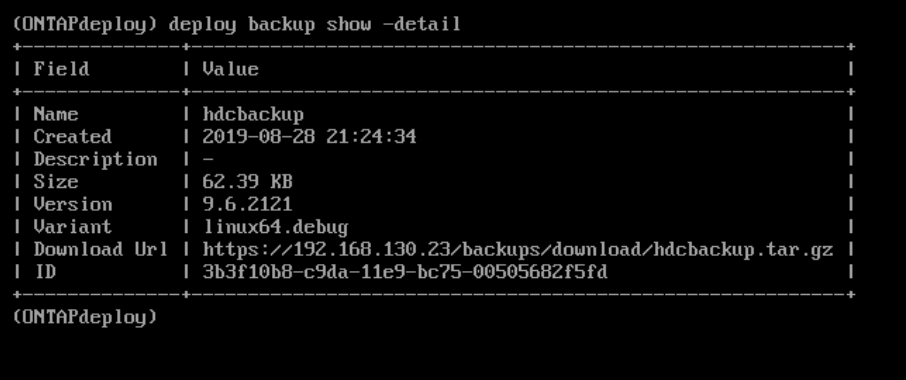
- Download Backup URL
How to Restore Ontap Select Backup to a NEW Deployed VM
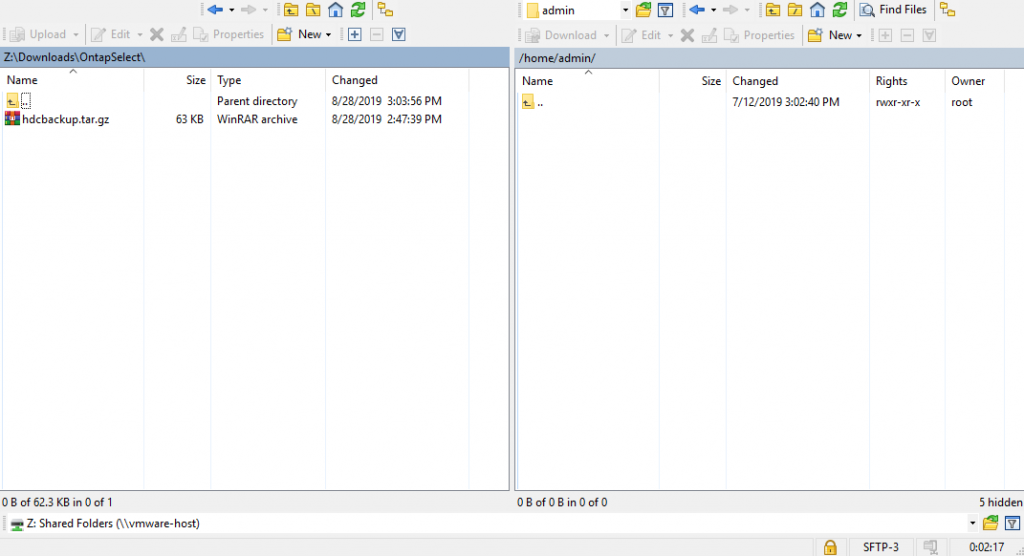
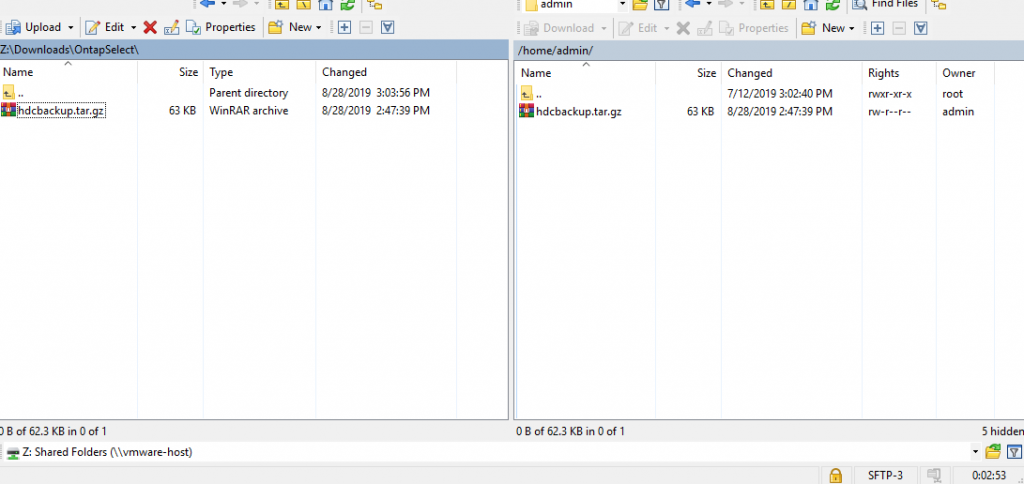
- Copy Backup file to NEW Deploy VM using SFTP
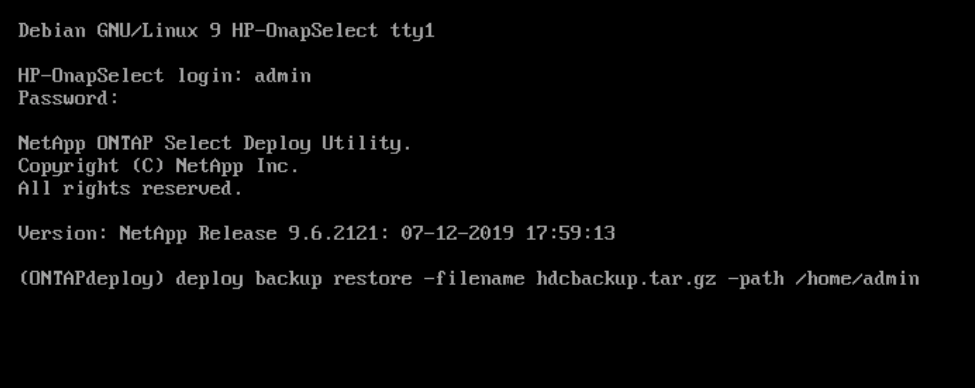
- Restore the Backup in the NEW Deploy VM
- ~deploy backup restore -filename hdcbackup.tar.gz -path /home/admin
- Enter the password to decrypt backup file.
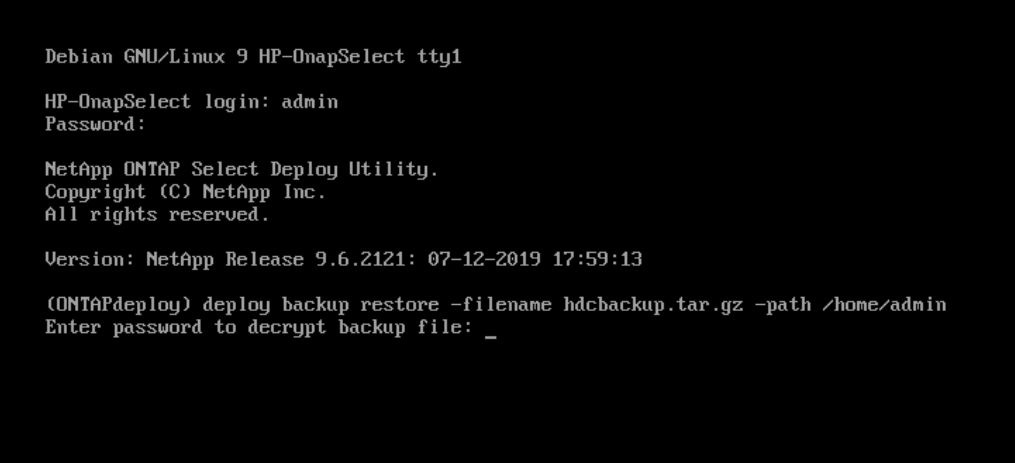
- After the restore is successful, the Deploy VM will Reboot automatically
Reconfigure the Mailbox on Ontap Select Cluster
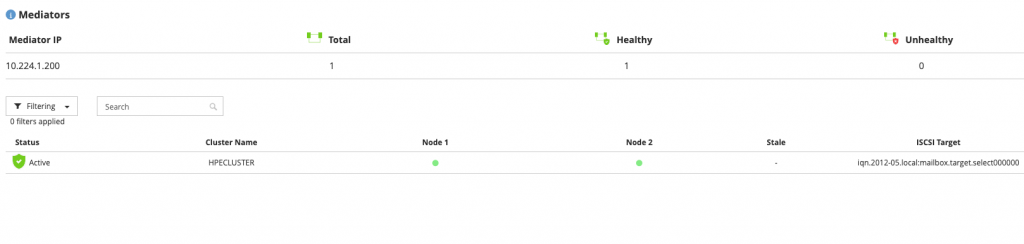
After deploying a NEW Ontap Select VM, and recovering from a backup, you still need some minor cleanup to bring the HA to a healthy status.
Since the IP address of the NEW Ontap Select Mediator is different, you will need to remove the old reference and add the new iscsi-targets.
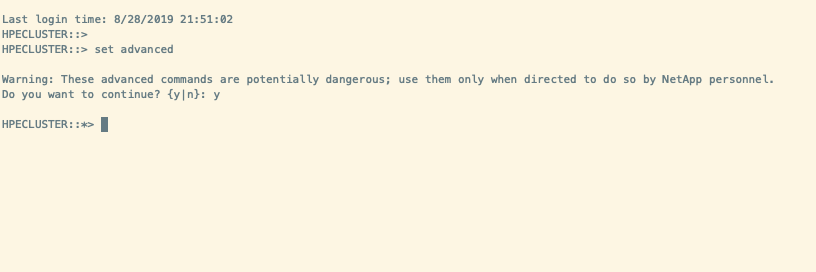
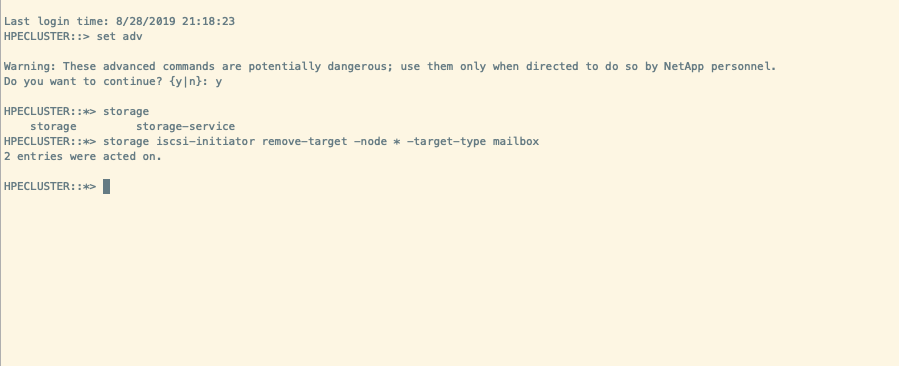
- Login to the Ontap Cluster via CLI and enter Advanced Privilege Mode
- ~set advanced
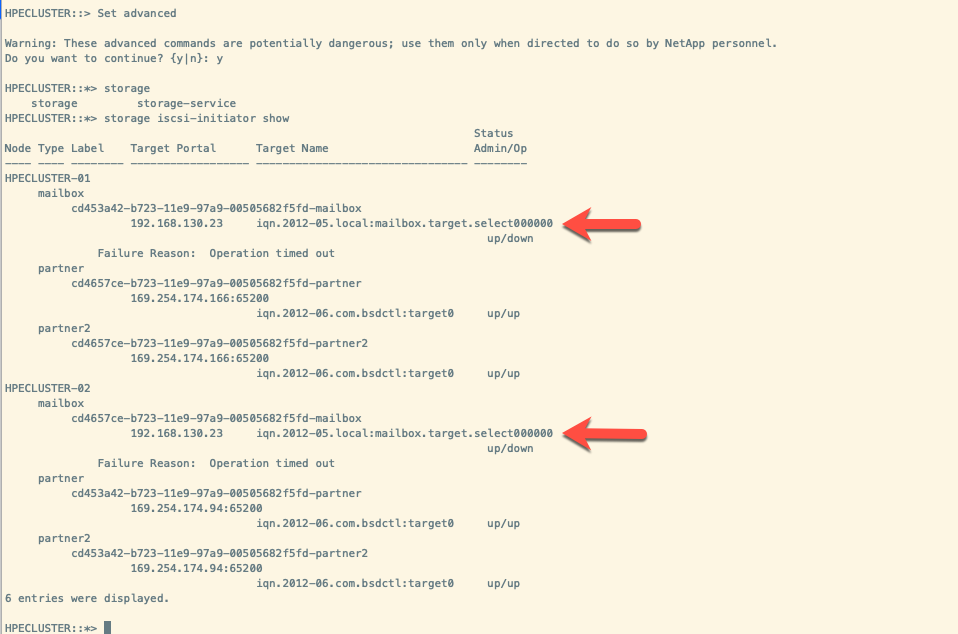
- The iscsi-targets are pointing to the IP address of the OLD Deploy
- ~storage iscsi-target show
- Take note of the Target Name, you will need this later
- Remove the OLD mediator iscsi-targets
- ~storage iscsi-initiator remove-target -node * -target-type mailbox
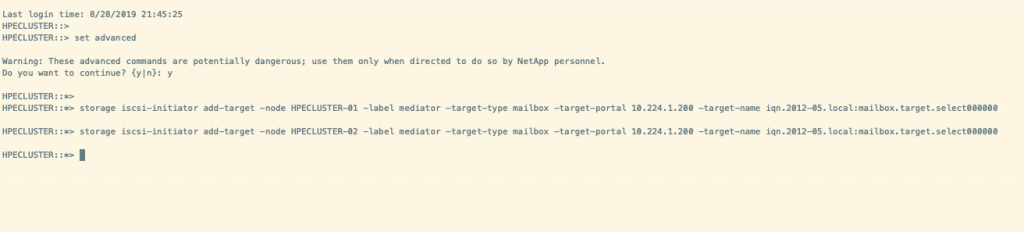
- Add the NEW mediator iscsi-targets and reference the NEW Deploy IP address
- ~storage iscsi-initiator add-target -node <node1_name> -label mediator -target-type mailbox -target-portal <ip_address> -target-name <iqn.target>
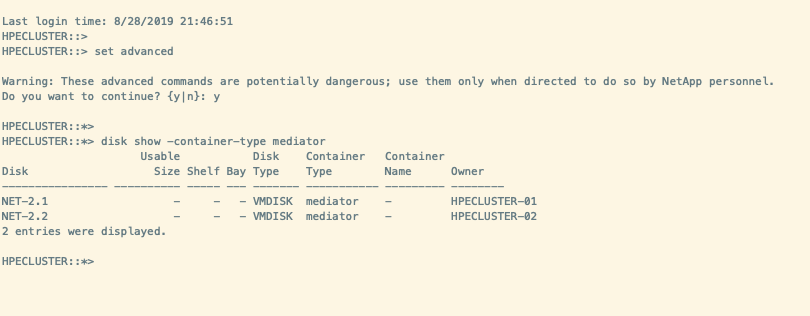
- Determine names of the mediator disks
- ~disk show -container-type mediator
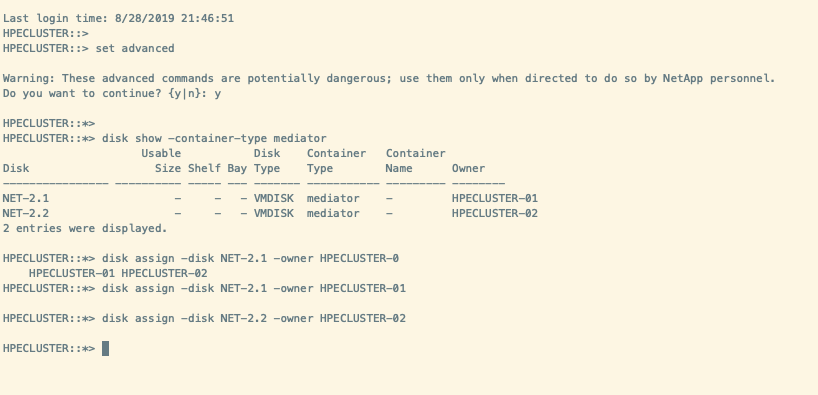
- Assign the Mailbox Disks to the two nodes in the Cluster
- ~disk assign -disk NET-2.1 -owner HPENODE-01
- ~disk assign -disk NET-2.1 -owner HPENODE-02
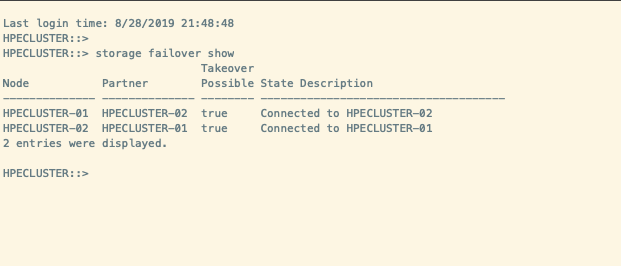
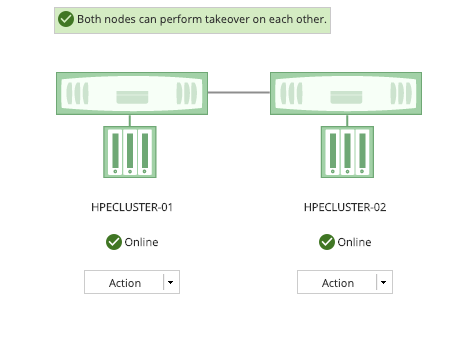
- Verify that storage failover is enable and HA is healthy
- ~storage failover show
Excellent blog here! Also your site loads up fast! What web host are you
using? Can I get your affiliate link to your host? I wish my site loaded up as fast as yours lol
I am using Amazon AWS LightSail for hosting. Its $5.00 a month. Thanks for stopping by…